

Table of Contents[Hide][Show]
- Start With a Budget That Actually Works
- DIY #1: A Painted Pumpkin Trio for Almost Nothing
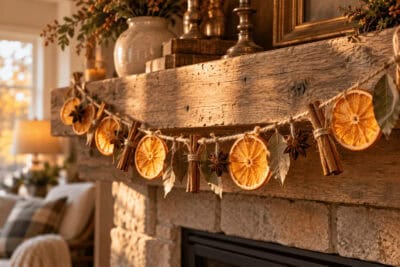
- DIY #2: A Dried Orange & Cinnamon Garland
- The One Fall Decor Idea My Whole Street Notices
- Cornstalk & Hay Bale Corner
- Home Decor: Fall Throw Pillow Covers
- Flameless Candles & Fairy Lights
- A Faux Wreath You’ll Reuse for Years
- How to Pull It All Together
- Your Cozy Fall Starts Now
There’s a certain morning in Western New York when you walk out to feed the chickens and the air just bites a little different. The maples along the road start turning, the light goes golden and low, and every fiber of my frugal little heart wants to make the porch cozy.
If your Pinterest feed looks anything like mine right now, it’s a wall of pumpkins, plaid, and amber candlelight — and it is so tempting to run out and spend a small fortune making your home look like a catalog.
Here’s the good news: you don’t have to. Some of my favorite fall touches around here cost next to nothing, and the pieces I do buy are ones I reuse year after year. Let me walk you through the exact mix I use — a few make-it-yourself projects, a few smart little Amazon buys, and one idea that gets more comments from my neighbors than anything else I’ve ever put in my yard.
Start With a Budget That Actually Works
Before you buy a single thing, here’s the frame that keeps me from overspending every single fall: make the big, statement pieces, and buy the small, reusable ones.
DIY is perfect for the seasonal, “I want it new this year” stuff — garlands, pumpkin displays, centerpieces. Those are cheap to make and fun to swap out. Save your dollars for a couple of quality pieces you’ll pull out of the bin every October for the next ten years, like good candles, a wreath, and pillow covers.
That’s the whole strategy. Two DIYs, two or three little buys, and you’ve got a home that feels like fall from the porch to the mantel — for less than the cost of one trip to the craft store when you go in without a plan (ask me how I know).
DIY #1: A Painted Pumpkin Trio for Almost Nothing
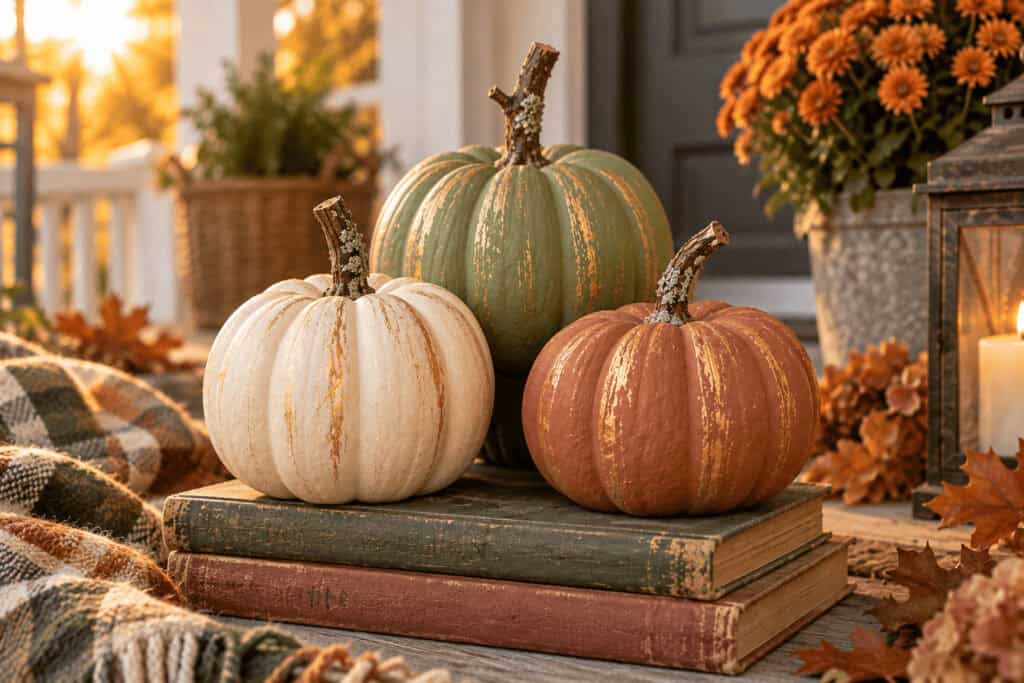
This is my favorite “starter” fall project because it’s genuinely hard to mess up. Grab a few plain foam or plastic craft pumpkins — the dollar store and end-of-summer clearance bins are gold for these — in a mix of sizes.
Here’s how I do mine:
- Give each pumpkin a base coat in a muted, non-orange color. Think warm cream, sage green, dusty terracotta, or a soft charcoal. Those “moody” tones are all over Pinterest right now and they photograph beautifully.
- Once dry, dry-brush a little metallic gold or bronze over the ridges for that expensive, boutique look.
- Swap the plastic stems for real twigs from the yard, tied with a scrap of twine or a bit of fabric ribbon.
Group them in odd numbers (three or five) on the porch steps or a stack of old books. The whole trio runs a few dollars, and honestly people assume I paid twenty times that. That’s the magic of a little paint and a good stack.
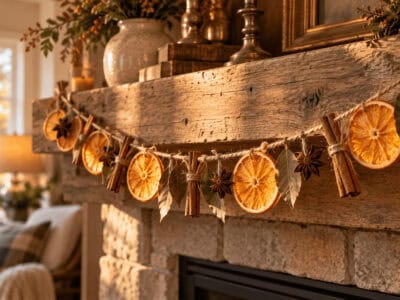
DIY #2: A Dried Orange & Cinnamon Garland
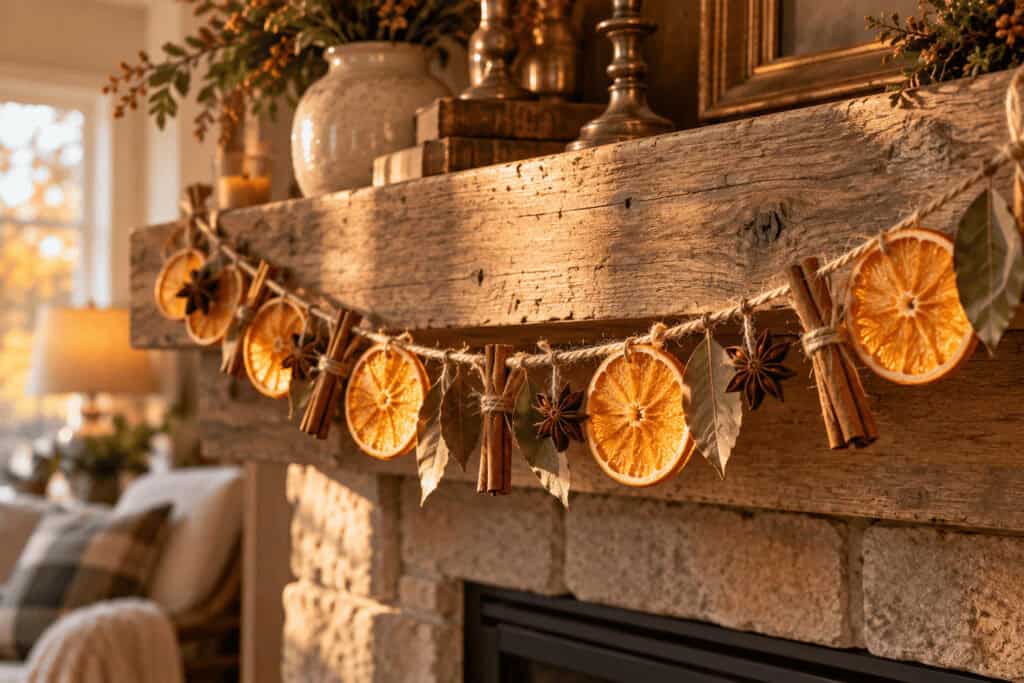
If you’ve been around the Farm Girl for a while, you know I love anything that comes out of the kitchen and smells like a hug. This garland is exactly that — and it costs you a bag of oranges and an afternoon.
Slice oranges thin, blot them dry, and lay them on a rack in a low oven (around 200°F) for a few hours until they’re leathery and dried through, flipping once. While they cool, string them onto twine or jute, alternating with whole cinnamon sticks, star anise, and a few bay leaves if you have them.
Here is another cute idea using dried oranges for a table centerpiece.
Drape it across a mantel, a window, or a shelf. As it dries the last little bit, it perfumes the whole room with that warm, spiced-cider scent — no plug-in required. When the season’s over, this one’s compostable, which the homesteader in me loves. It’s the definition of frugal and cozy, and it makes for a gorgeous close-up pin.
The One Fall Decor Idea My Whole Street Notices
Okay, this is the one I get asked about the most — and if you follow me on TikTok, you already know where this is going.
This season I put an NFL team yard sign out by the driveway (Bills Mafia, obviously — go Bills), and I am not kidding when I say it changed my whole fall curb appeal. There’s something about your team’s colors staked out front on a crisp game-day morning that just hits. It turns your yard into part of the celebration.
You can watch my video below.
Here’s why it works so well as fall decor and not just game-day flair: those team colors — the deep blues, the reds, the golds — actually sit right inside the fall palette. Nestle the sign in among a few mums, a couple of your painted pumpkins, and a bale of straw, and it reads as intentional, seasonal, fun decor. Not a random sign in the grass. It’s the piece that makes people slow down and honk on their way past.
I featured mine over on TikTok and it’s become one of my most-asked-about products, so if you’ve got a football fan in the house (or you are the football fan in the house), this is the personality piece I’d start with. Pick your team, plant it proudly, and build the rest of your fall porch around it.
Cornstalk & Hay Bale Corner
If you want one thing that instantly says “fall has arrived” from the road, it’s a corner built around cornstalks and a hay bale. This is the most homestead-y, most budget-friendly yard anchor there is — and living out here in Western New York, I get mine for a few dollars at the local farm stand instead of paying marked-up craft-store prices.
Bundle two or three dried cornstalks and tie them to your porch post or mailbox with twine. Set a small straw bale at the base, then pile a couple of pumpkins and a mum around it. That’s it. It fills vertical space, costs almost nothing, and when the season’s over the whole thing goes to the compost or out to the chickens — frugal and zero-waste.
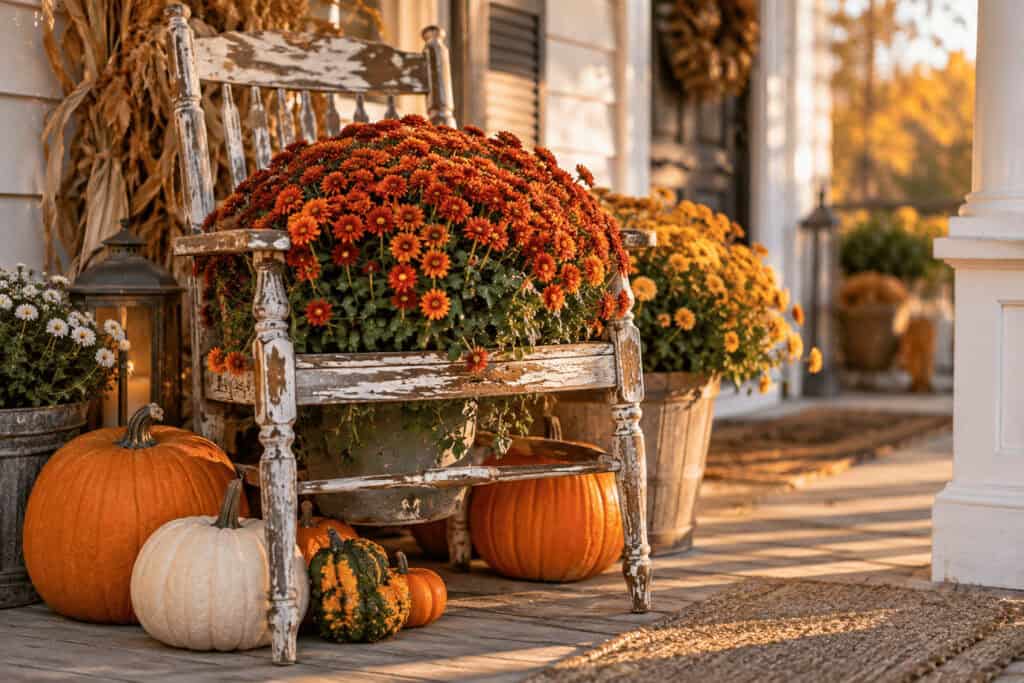
Turn a Broken Chair Into a Fall “Throne”
You know that old wooden chair with the busted-out seat sitting in the barn or garage — the one you keep meaning to toss? That’s your most unexpected fall statement piece.
Set it on the porch or in a flower bed, drop a potted mum down through the missing seat so the blooms sit at seat height and spill over the frame, then tuck a couple of pumpkins and gourds around and under the legs. Suddenly a piece of junk looks like it belongs in a magazine.
Here’s why it earns the “why didn’t I think of that?”:
- It rescues something headed for the trash. Peak Frugal Farm Girl energy — the more weathered and chippy the paint, the better it looks.
- The broken part is the whole point. A missing or caved-in seat isn’t a flaw here; it’s the perfect spot to nest a mum pot so it looks like it’s growing right out of the chair.
- It adds height and story. A chair lifts your display off the ground and gives your yard a charming, collected-over-time look that flat clusters can’t.
- Total cost: zero. No missing-seat chair? Thrift stores and yard sales practically give them away, and a whole one works too — just set the pot on the seat.
Style it solo as a porch focal point, or pair it with your cornstalk corner for a full vignette. It’s the definition of “high-end look, homestead price” — and it photographs like a dream for a close-up Pinterest pin.
Turn Your Pumpkins Into Mum “Planters”
Instead of setting pumpkins and mums next to each other like everyone does, make the pumpkin the planter. Cut a hole in the top of a real pumpkin — just wide enough to drop a potted mum straight in, plastic nursery pot and all — and set the mum down inside so the blooms spill out over the rim. Now it looks like the mum is growing right out of the pumpkin.
Here’s why it gets the “why didn’t I think of that?” reaction:
- It’s basically free. You’re using a pumpkin you already have and a mum you already bought — no new purchase, just a smarter arrangement.
- It looks like a $40 boutique planter. People assume it’s some expensive porch pot. It’s a $5 grocery-store pumpkin.
- The pot stays hidden and protected. Because the mum’s still in its nursery pot, you just lift it out to water, and it doesn’t rot the pumpkin from the inside. Swap in a fresh pumpkin if the first one softens.
- Zero waste at the end. When fall’s over, the mum goes in the ground and the pumpkin goes to the compost or the chickens.
Line three of them up the front walk in graduated sizes, flank the door with two big ones, or set a single showstopper on the mailbox post. It reads high-end, costs nothing extra, and it photographs like a dream — which makes it a killer Pinterest close-up. It’s the perfect “less traditional” twist because it takes the two most predictable fall pieces and combines them into something nobody expects.
Home Decor: Fall Throw Pillow Covers
If I could only tell you to buy one thing for fall, it would be a set of pillow covers. Not whole pillows — just the covers. You keep your existing inserts, zip on the fall covers, and store them flat in a shoebox the rest of the year. It’s the cheapest way I know to make a whole room feel like the season changed.
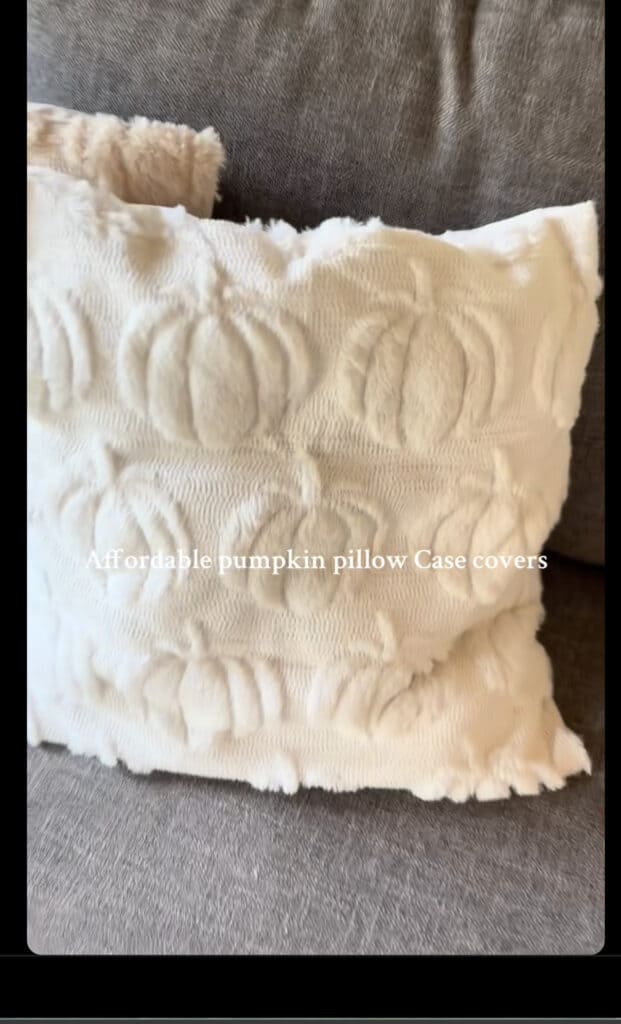
Look for a set of two or four in plaid, waffle-weave, or a simple pumpkin/leaf motif in those muted tones we talked about. A single set usually dresses a whole couch, and they’ll last you years.
Check out the ones I scored in my Tiktok video here.
Flameless Candles & Fairy Lights
Fall is dark early up here, and nothing makes a home feel cozy faster than a little warm glow. I’m a big fan of battery-operated flameless candles and a strand or two of warm-white fairy lights — mostly because I’ve got chickens, a busy house, and zero desire to leave a real flame going.
Tuck flameless candles into mason jars (of course), line them along the mantel, or nestle fairy lights into your dried garland for a soft twinkle at night. Set them on a timer and your house welcomes you home already glowing. Reusable every single year — this is exactly the kind of small, lasting buy worth spending a few dollars on.
My favorite real wax candle set I scored from QVC. I did a video on the set here.
A Faux Wreath You’ll Reuse for Years
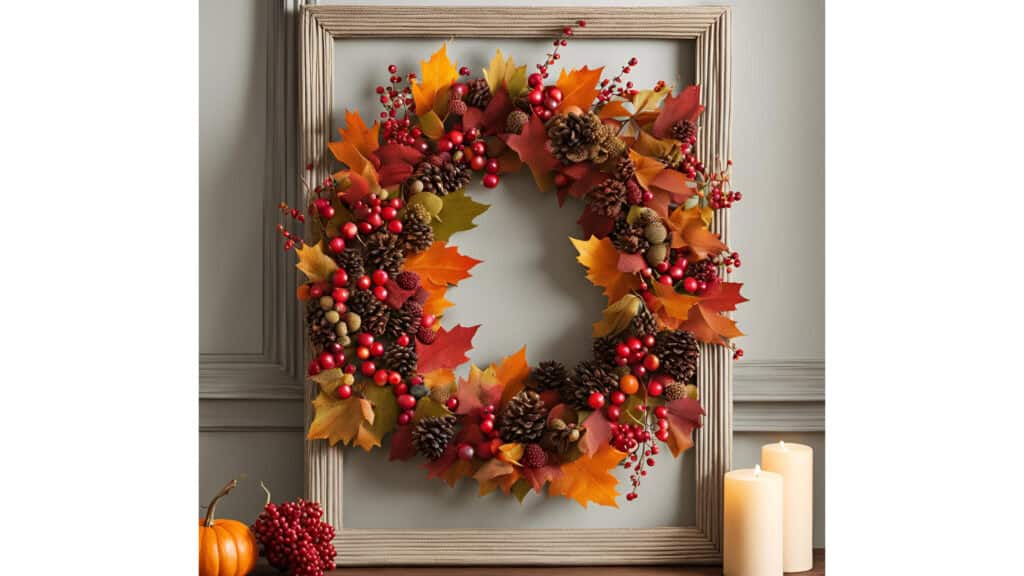
A front door wreath is the handshake of your whole fall setup. And while I love a fresh one, a good-quality faux fall wreath is the frugal winner: buy it once, store it in a bin, and pull it out every year for a decade. The cost-per-season is almost nothing.
Go for one with a mix of muted maple leaves, wheat, berries, and a few of those little dried-looking accents. Skip anything too neon-orange and shiny — the more natural and muted it looks, the more expensive it reads. If you want it to feel custom, add a wired ribbon bow in your team colors to tie it back to that yard sign out front.
For 10 more DIY Fall Wreath ideas on a budget tap here.
How to Pull It All Together
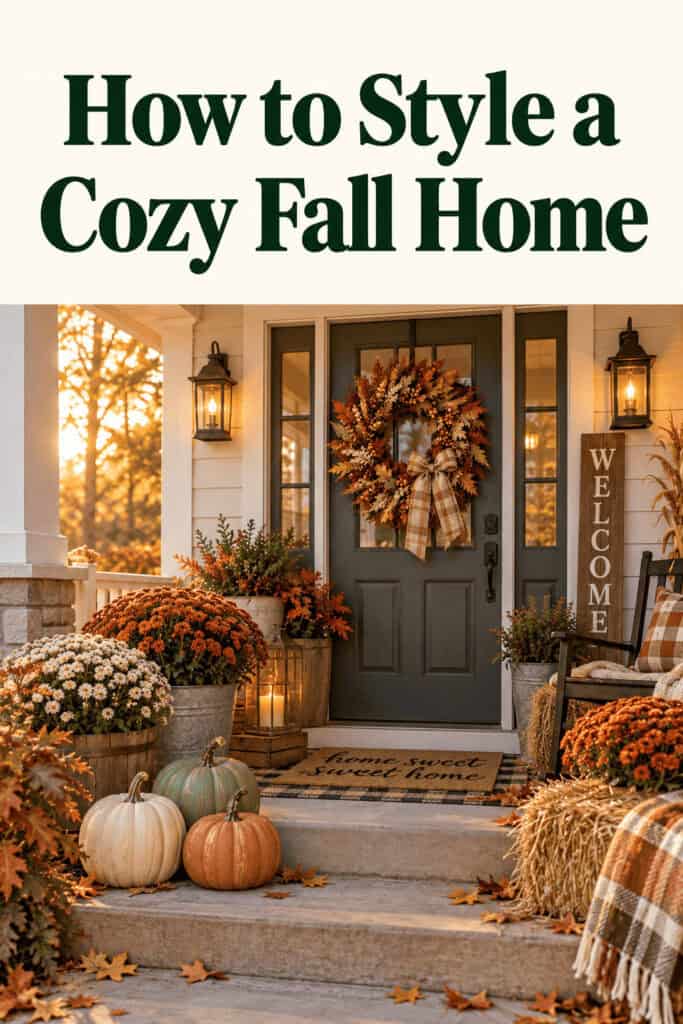
Here’s how I’d stage all of it so it looks like one cohesive, Pinterest-worthy scene instead of a pile of separate purchases:
- The porch: Painted pumpkin trio on the steps, a bale of straw or a couple of mums, and your NFL yard sign staked just off to the side. Wreath on the door.
- The mantel or entry shelf: Dried orange-and-cinnamon garland draped across, flameless candles clustered at each end, fairy lights woven through.
- The couch: Fall pillow covers, and if you’ve got an extra throw blanket, fold it over the arm.
Keep your color story tight — muted, warm, and natural, with your team colors as the one bold pop — and everything will feel intentional. That’s the whole secret. It’s not about how much you buy; it’s about a handful of pieces that talk to each other.
Your Cozy Fall Starts Now
You truly don’t need a big budget to make your home feel like the coziest season of the year. A little paint, an afternoon in the kitchen, a couple of smart reusable buys, and one piece that shows off who you are — that’s a whole fall home right there.
If you loved these ideas, I share budget-friendly seasonal DIYs, homestead projects, and frugal finds like this all season long. Come join the Frugal Farm Girl newsletter so the next batch lands right in your inbox — and I’ll see you out on the porch. 🍂
Now if you’ll excuse me, I’ve got mums to plant and a yard sign to go straighten. Go Bills.
 DIY Wood Slice Christmas Place Cards
Leave a Reply