
Homemade vapor rub is super quick to make and lasts up to a year. When you make your own homemade lavender salve/rub with coconut oil, you know exactly what’s in the jar.
There is a piece of mind about it and the ability to tweak it for the oils that work best for your family.
What I love the most about this homemade vapor rub recipe is its fastness. There are all sorts of variations, and I’ll share different ones below. The one we use is the main one I’m sharing today.
If you have all the ingredients already, this takes five minutes to make. About 20 minutes to set. Super easy.
If you don’t have the ingredients order them on Amazon and make it in two days.
This recipe does contain beeswax and coconut oil. I buy all of the ingredients below online, with the exception of the coconut oil. I always grab the big tub of Organic Coconut oil at BJs or Costco.
( If you love either of these stores, check out my BJs only blog here and my Costco only blog here)
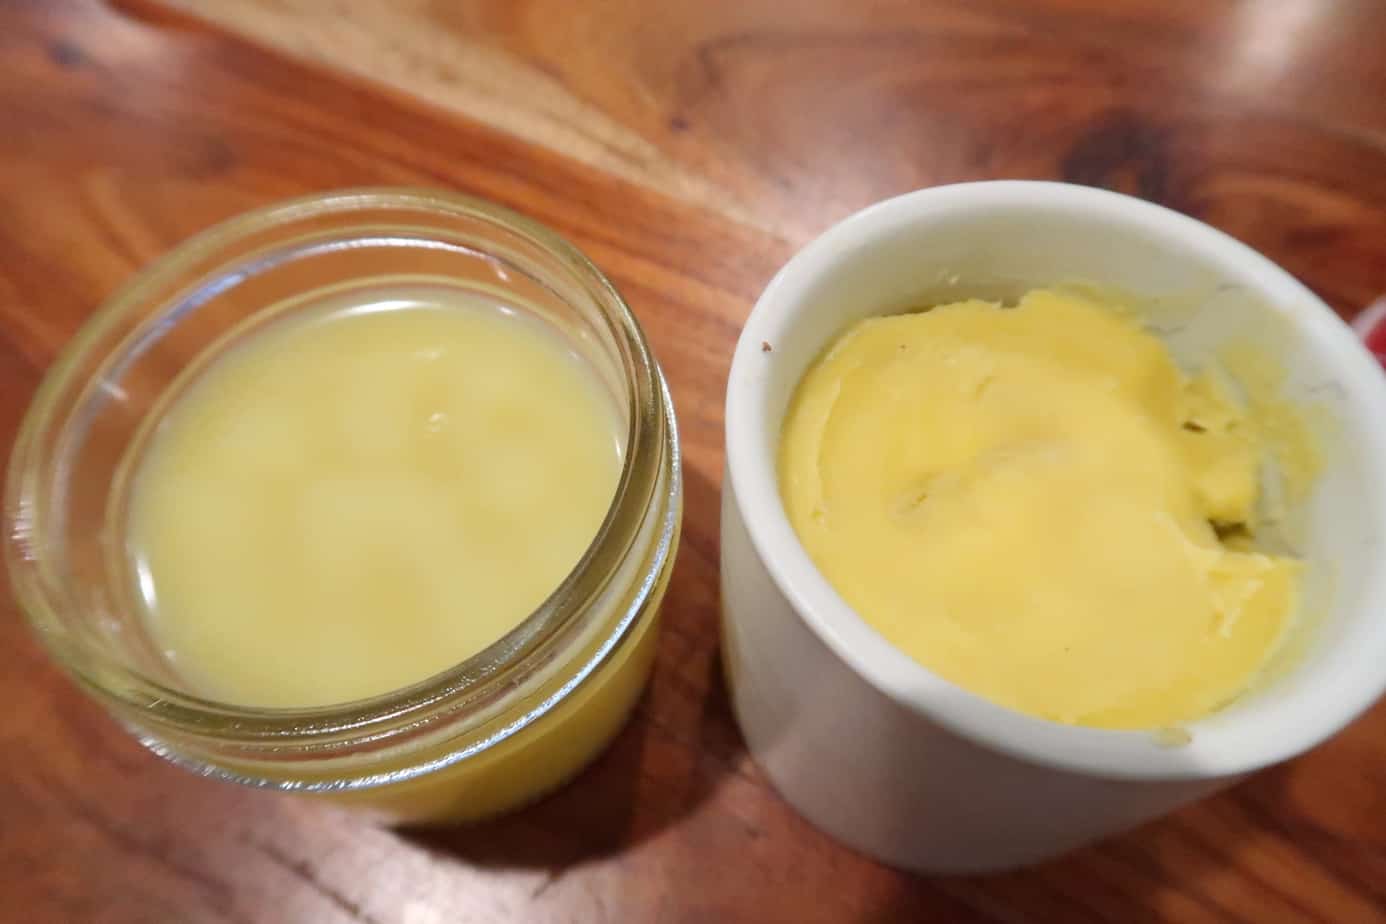
I tried two different recipes I found online and compiled what worked best from each one.
If you want to make these a cute DIY Valentine’s Day gift item, head on over to Target asap and grab the Little jars for only $1 each!

I found if I added more than a teaspoon of Shea butter and more beeswax it turned rock solid.

INGREDIENTS:
You can purchase any of these online by clicking each one.
- Beeswax– 1 1/2 teaspoons – a Full bar is way too much beeswax if you order from here which is what I did. I found a quarter of the bar or about 1.5 teaspoons worked good. You could also purchase the beeswax pellets here.
- Shea Butter– 1 Tsp. I’ve only bought this brand from Amazon and love it.
- Coconut Oil 1/2 cup- I use this one from BJs, but this is comparable on Amazon.
- Small saucepan

You can read about why I choose these cheaper oils here, and it’s always free shipping!
- 20 drops of eucalyptus essential oil
- 10 drops lavender essential oil
- 5 Drops of Peppermint essential oil– If peppermint is to harsh for your family you can skip it and add tea tree oil.
- 15 drops of rosemary essential oil
- Container for your mixture. Clear glass ones like this
- I also spotted cute little Valentines day themed jars at Target’s one spot.
You can mix and match your oils to what smells you like etc. This is a guideline for oils. The best part is there is no exact number.
If you notice your mixture is too hard, add less beeswax, and if it is too soft add a little more beeswax.
This batch will make about 4 ounces.
*Please note some of these oils are unsafe for babies and toddlers. Always dilute for babies and small children. Always check with a doctor or healthcare provider about using essential oils on young children.
DIRECTIONS

Add in your beeswax and turn your burner on the lowest setting. Place your saucepan on the smallest burner. You can easily cut your beeswax strips in half. If you order the 1-ounce bars, a sharp knife will do the job.
Next, add in your shea butter. I use a regular teaspoon and scoop it out. In the first recipe, I tried it with 3 tablespoons of shea butter, and it didn’t work.
For the better batch, I only used a teaspoon, which is what is in the ingredients list.

Next, add in your coconut oil. You can use a whisk or a wooden spoon. I used a wooden spoon to cut my beeswax in half once it started to melt. It only takes 3-4 minutes before it is all melted down.
Once it’s melted, turn off the heat and remove the pan from the heat. I let mine cool down a little. Not too much, or it will start to solidify.

Add in your essential oils. Swirl the pan around to get it all mixed up or use a wooden spoon. Depends on what your attitude towards dishes is for the day. 🙂

Use a little container to keep your rub in. I used this little jar I bought at Target’s One Spot for our Coffee bar. I did a post on the whole thing here.
Some say the light will decrease the effectiveness if you use a mason jar etc. My take on all that is to do what makes you less stressed. I had this jar, and it was the right size, so I went for it.
I don’t put sugar in my coffee and haven’t used this for anything yet, and I thought it would be a great idea for our rub.

Mine took about 15-20 minutes to set. The whole cooking process was about 5 minutes.

You can store this for up to a year. I use this on our eight and six-year-old daughters. They both can tolerate peppermint.
If you have younger kids I would skip out on the peppermint and go with the rosemary and eucalyptus instead.


If yours ends up sitting and you want more of a smell, all you need to do is remelt it and add more essential oils.

That’s the best part: you can make it exactly how you want it, and the final product is never final.


I love using coconut oil because I like a creamy texture. You can substitute the coconut oil with olive or almond oil too. You can skip out completely on the shea butter if you don’t have it.
ALL DONE! Apply
Now rub on the bottoms of your feet and put on those socks. You can rub this on your chest too. I actually even use mine on my hands when they are really dry.
What do you add in your mix? Share your thoughts below.
 Your Guide to the Bi-Weekly Savings Challenge: A Step-by-Step Journey for Low-Income Earners
Leave a Reply