As much as I don’t want to get ready for winter, I don’t want to try to clean out my chicken coop when temps are below freezing, and my hands are killing me from the cold.
Winterizing your chicken coop in the fall is the best time. It doesn’t take much time, and you and your flock will be happier when that first frost hits.
Not only does it give you peace of mind when winter comes, but it will keep your flock healthier and you happier.
If you are reading this and it’s the dead of winter, don’t worry. I didn’t give my chicken coop a deep clean last fall, and they all survived. It does depend on your setup, how many chickens you have, and how you keep it clean throughout the year.
So let’s get to it. Below are steps to ensure your chickens stay warm and healthy all winter without breaking the bank.

You won’t see a pretty spotless designed coop around here either- whenever I see those cute chicken coops on Tiktok or Instagram I think- you must not have been raising chickens for years. Anyone else?
*Are you new to raising backyard chickens? You need my chicken raising binder! Everything you need is in it!
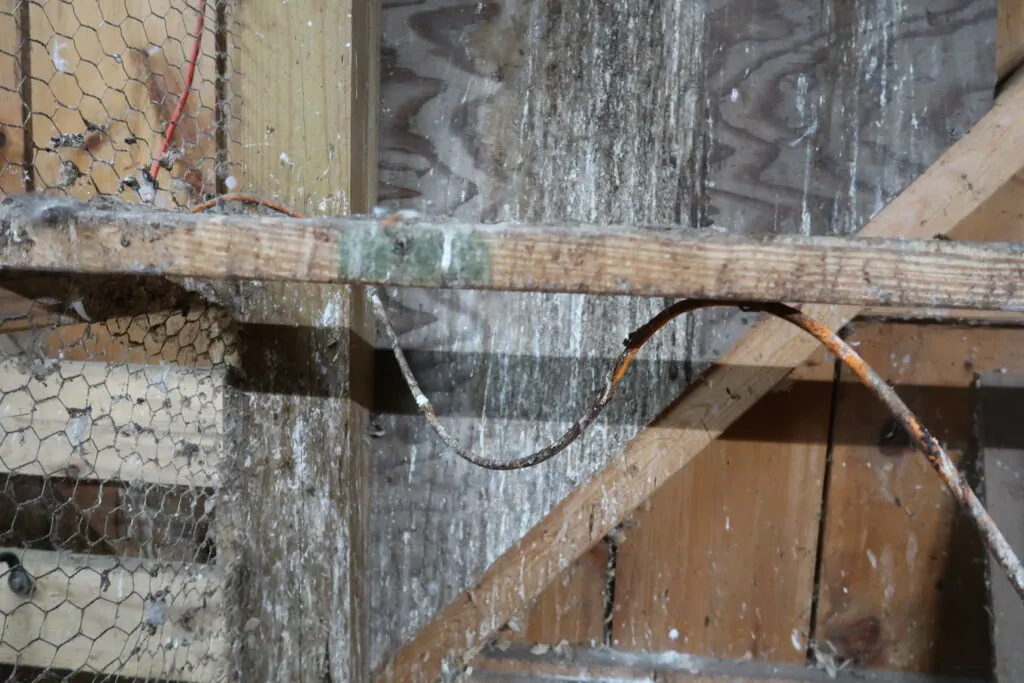
Here is a close-up of the worst corner in my chicken coop. This is the time to scrap those roosting bars and the extension cord. Don’t worry it will get better as we move along.
Why do I need to prepare my chicken coop for winter?
The first thing to consider is why you must prepare your chicken coop for winter. During winter, chickens can suffer from frostbite and respiratory issues, and it’s just harder to give the coop a good cleaning when it’s freezing and you have a few feet of snow.
Even worse, some breeds of chickens are not cold-tolerant and may struggle to survive the harsh winter weather. Therefore, you must be proactive and provide a safe and warm environment for your chickens to thrive during winter.
It was rough When we started raising many chickens in our 100-year-old barn. We had so many cracks and areas for the wind to get in.
Take a good look at your coop setup and prepare for the cold weather coming. If you have a coop that lets in drafts, you must prepare your coop for winter.
How Cold Can Chickens Tolerate
Chickens are tough little creatures that can handle freezing temps, but they like it better when it’s warm. They’re happiest when the thermometer reads around 70-75 degrees Fahrenheit.
This is why you must prepare your chicken coop for winter if you live in a cold climate area.
Steps For Winterizing Chicken Coop
Slant boards under the roosting bars to scrap poop off when building your coop. Even better ways exist to design it so poop isn’t sticking on everything inside.
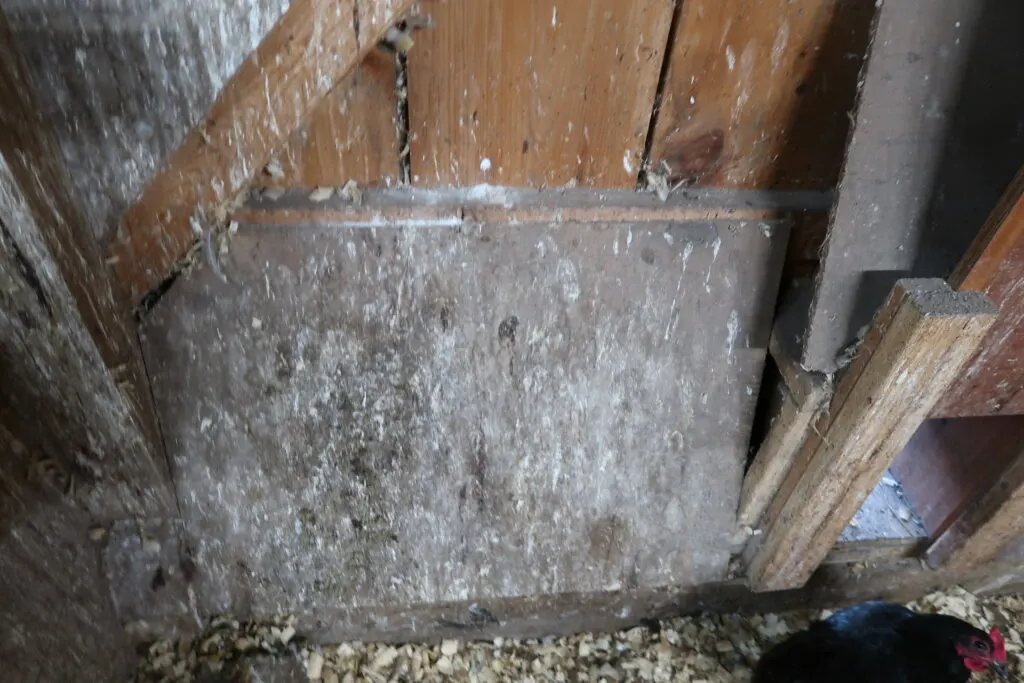
Step #1 Empty out your chicken coop.
Remove everything from your chicken coop, including bedding, waterers, feeders, and other objects. This will give you a chance to clean your coop deep.
Get rid of all those old fly strips!
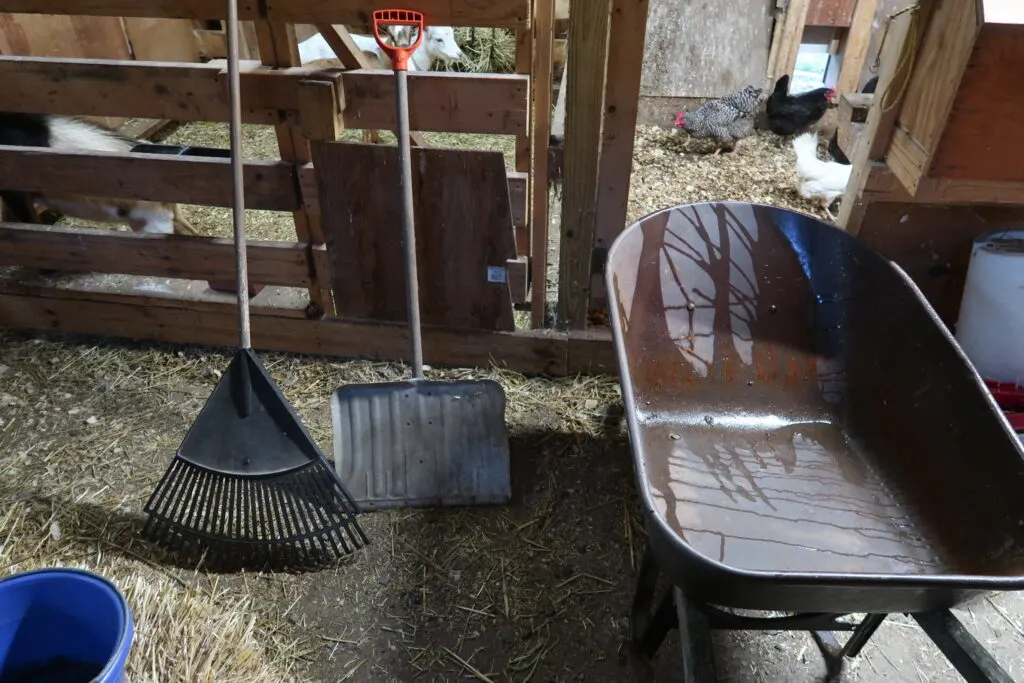
I use a rake, an old shovel, and a wheelbarrow.
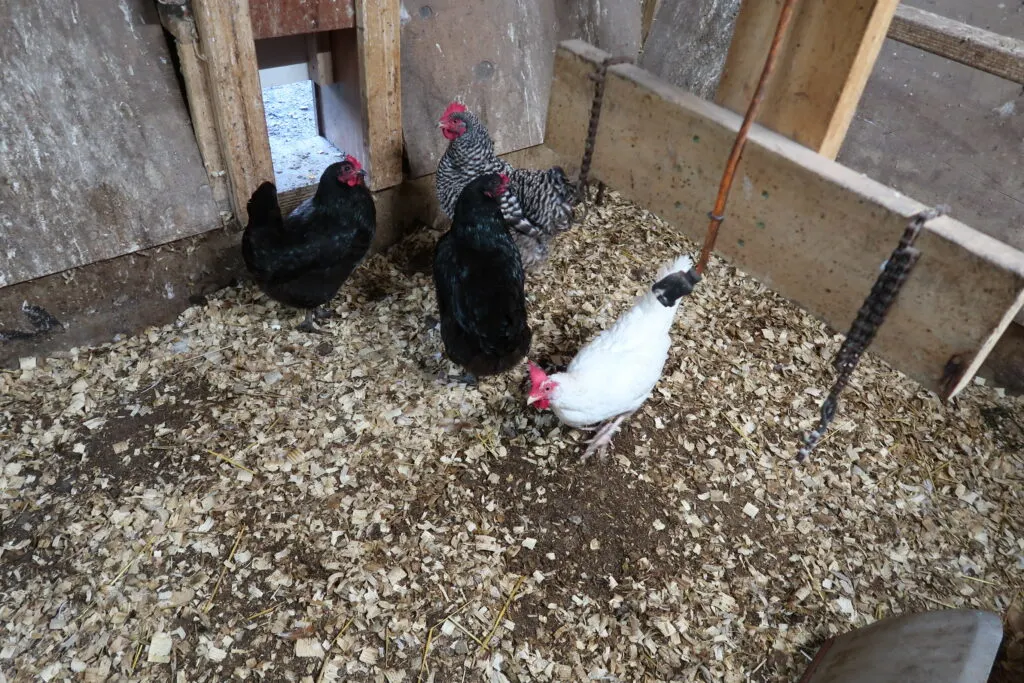
When cleaning the coop, use all the bedding in your compost pile. It’s a bad idea if you take your chicken bedding and add it to your garden.
Chicken manure needs time to break down. It will kill your plants, and trust me I learned that the hard way.
I must shut the coop door, or the ladies keep coming in and wondering what’s happening.
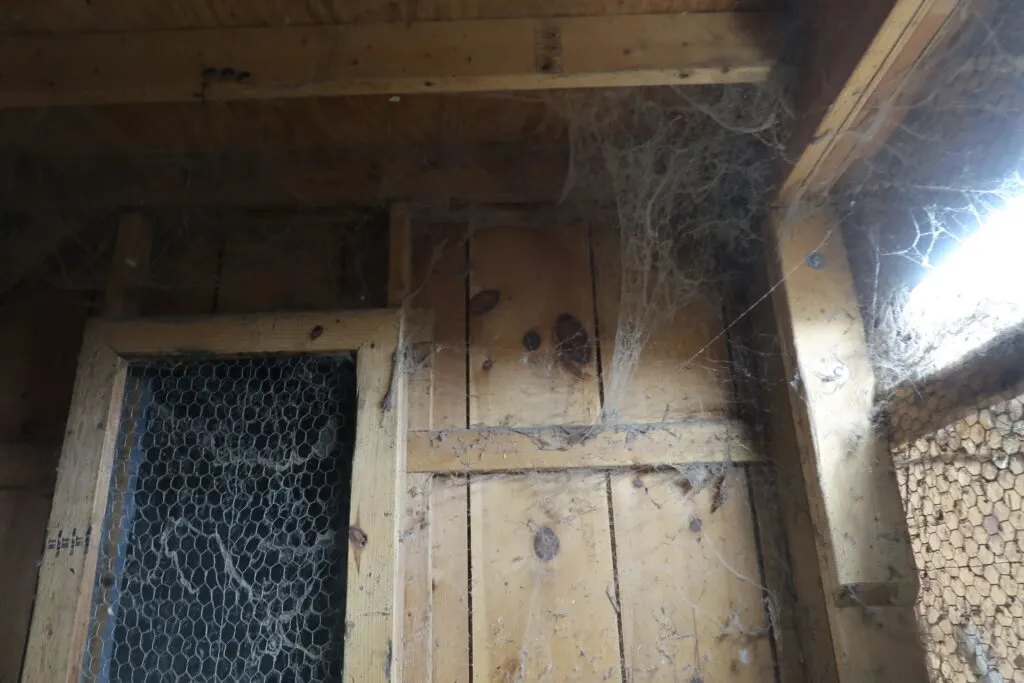
Step #2 Get Rid of Dust/Poop
I get all the dust off everything before I get it wet. Our chicken coop is a corner of our barn that we built a few years ago; the amount of dust that gets in there is ridiculous.
I only dust once a year because that’s the stage of life I’m in right now!
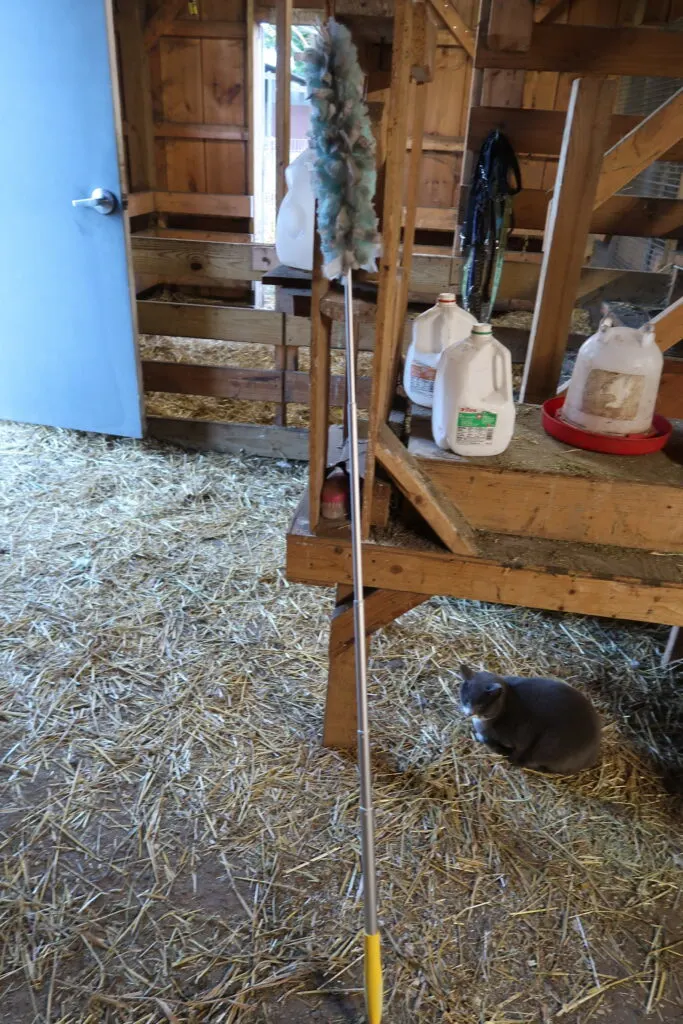
As a frugal girl, get the Swiffer dusters. They work the best, and I only use two for the whole chicken coop and the other half of the barn. Trying to get the cheap Dollar Store dusters or any other brand is not worth your time.

I grab the big Swiffer Heavy Duty dusters box at BJ’s when there is a coupon. If you aren’t shopping wholesale clubs yet, raising animals, and having kids, you’re missing out.
You can use an old broom too, but for me, the broom does not work as well as the Swiffer dusters, and I’m all about quick and easy.
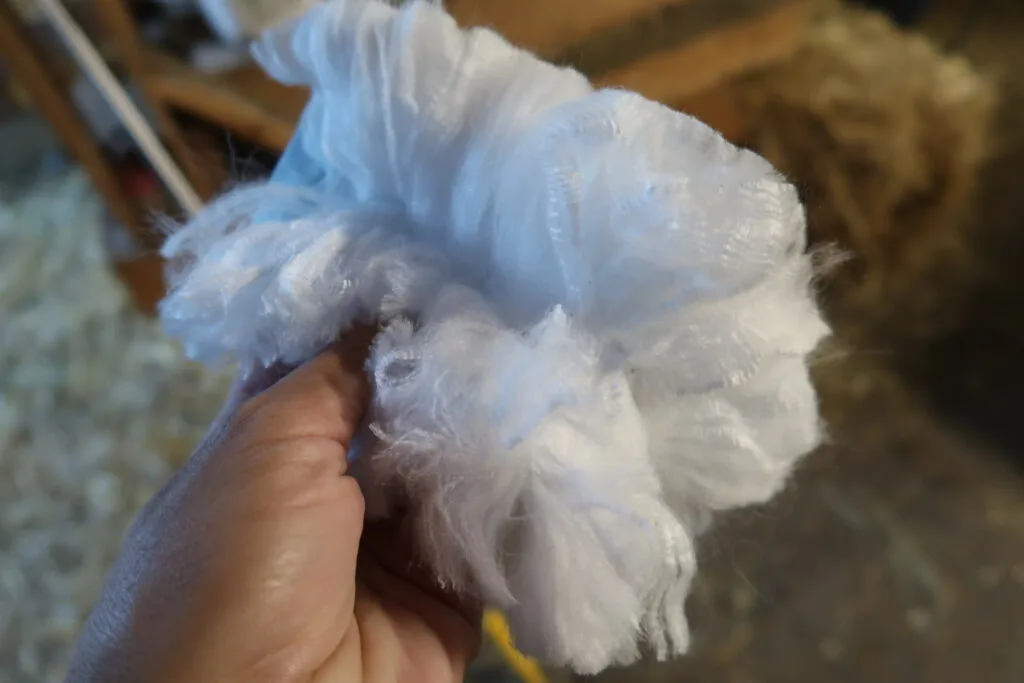
This is the cheap duster- don’t use it. It does NOT work in a barn/chicken coop.
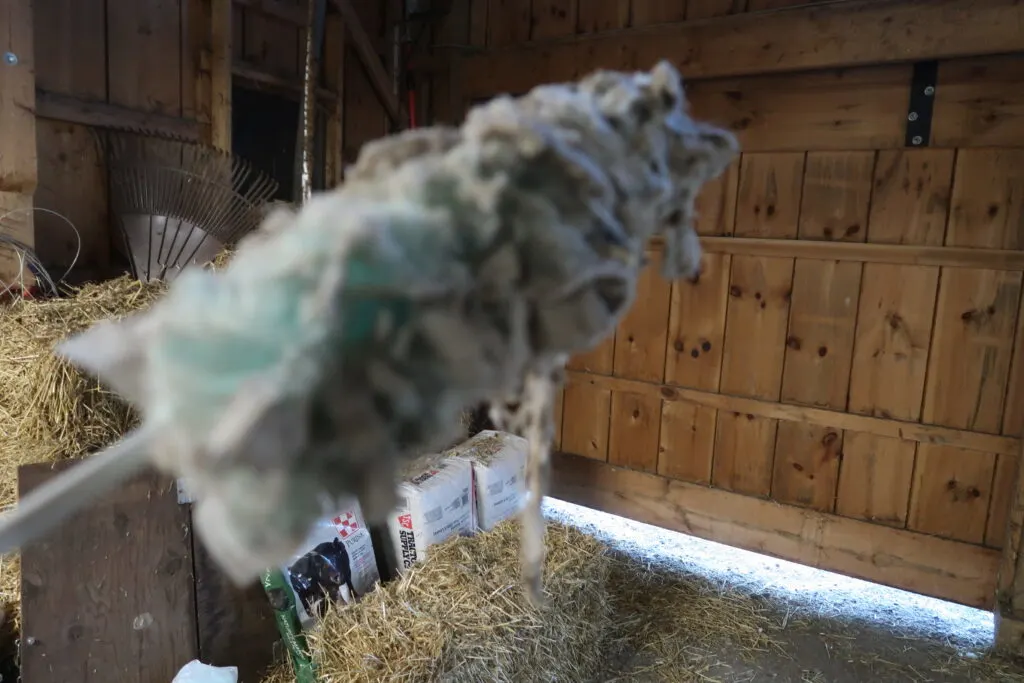
I grab a hoe and scrap all the poop off. Whatever I can’t get off with it, I’ll spray down, loosen it up, and then scrap it off again.

Step #3 Hose it all down
Wash down your coop using a hose to remove the bulk of the dirt and debris. Ensure you get all the corners and crevices, and don’t forget the outside of the coop.
This doesn’t entirely work for our coop because it’s inside the barn, and I don’t like soaking the wood, but I spray it off lightly and give a good scrub to the roosting bars.

Step #4 Scrub it all down.
Use a scrub brush and Murphy’s oil soap to clean the coop’s inside. Clean the roosts, nesting boxes, and the walls and floor, depending on what you have for flooring.
We use sand/ pine shavings, so there is no scrubbing or cleaning our floor. I buy the cheap scrub brushes at Dollar Tree for this.
Wipe down the coop door and any windows you may have. Usually, twice a year, we’ll Windex the windows; it’s incredible what a difference clean windows make on the barn and how quickly you get used to looking through the dirt!
I scrub the food and waterer too. In the winter, we use an electric waterer, so I grab that out and get it ready.
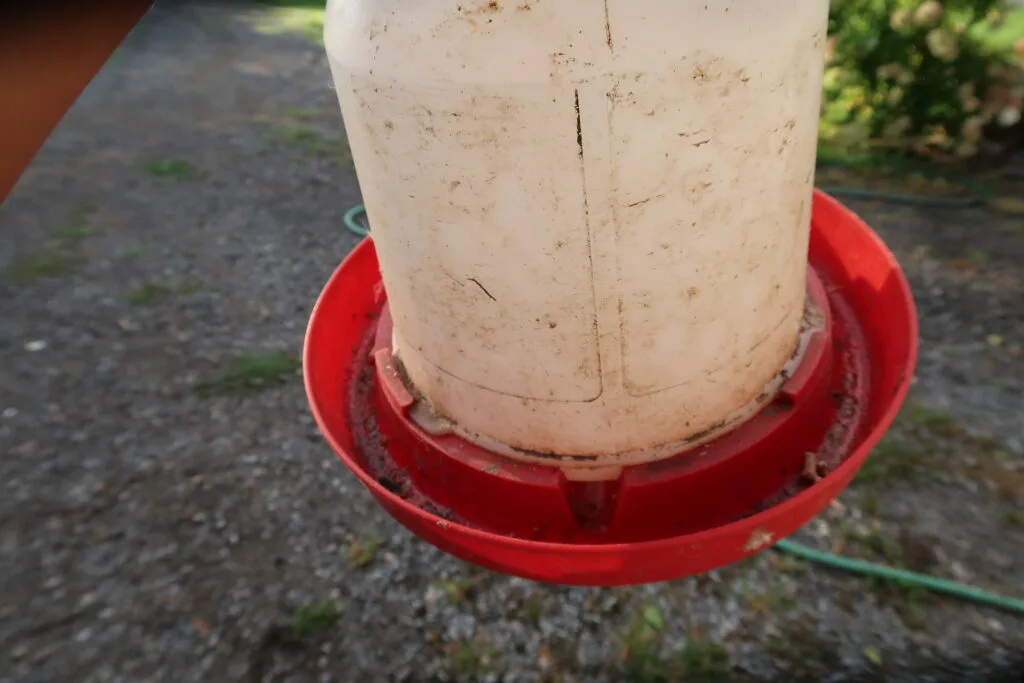
Dawn Powerwash is a frugal farmer’s best friend.

I buy this at wholesale clubs only too! It’s the best deal when they have it on sale. You spray, let it sit for five minutes, and wash away.
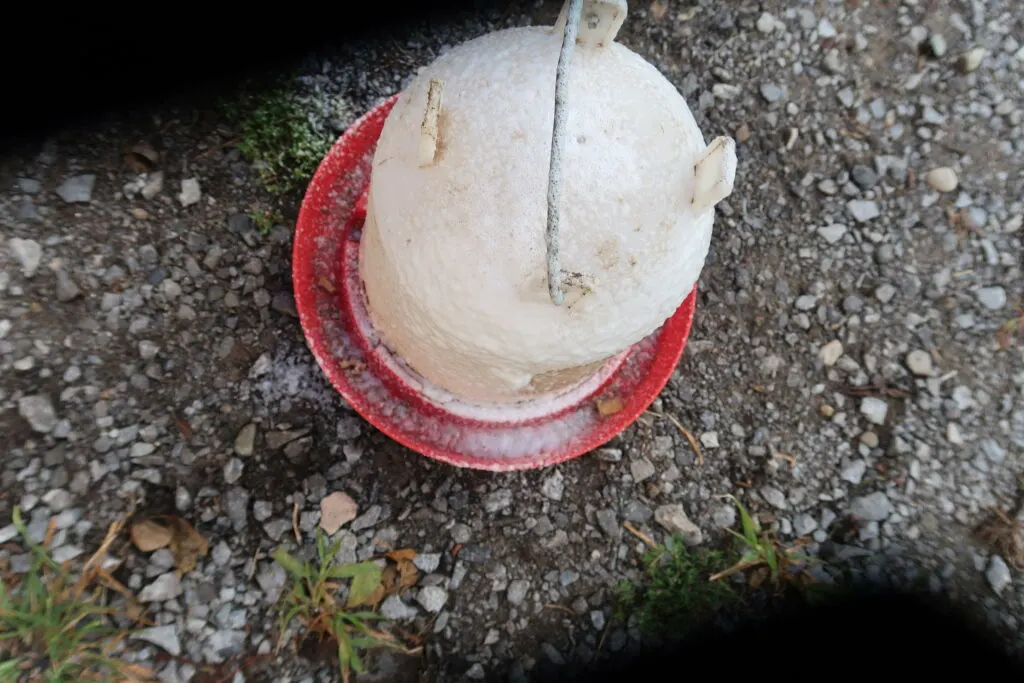
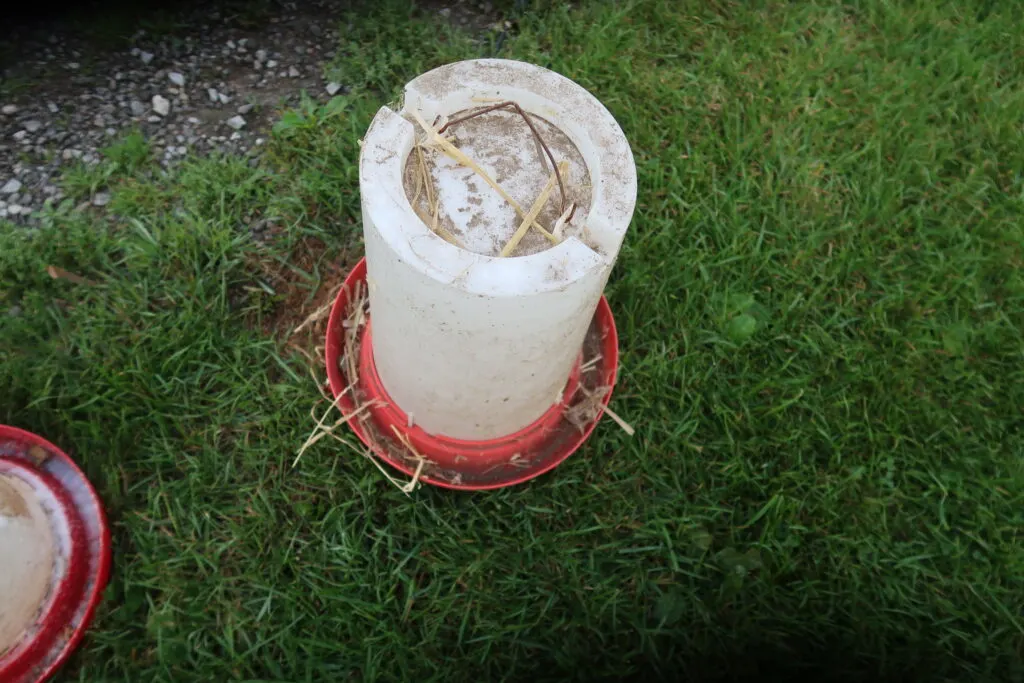
I wipe the containers out and then rinse them again. This stuff really is a powerhouse and works well on so many things.
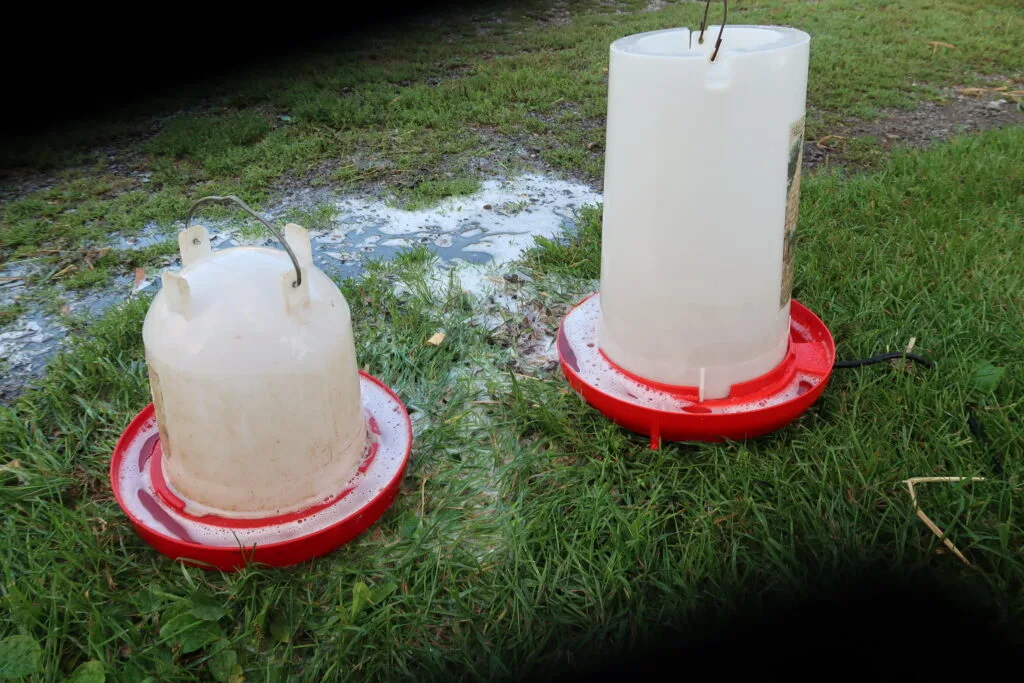
See how white the one is from just water and Dawn!

Don’t forget to take the bottoms off too, because the soap will get inside and you want all the cleaned out.

Step #5. Rinse your chicken coop out
Rinse your coop thoroughly with clean water to remove any soap residue or leftover dirt. When I do the pig area in the barn, I use old rags to wipe off soap.

I don’t love soaking the inside of our barn because the wood isn’t treated with anything inside like the outside is.
This too, depends on the type of chicken coop you have.
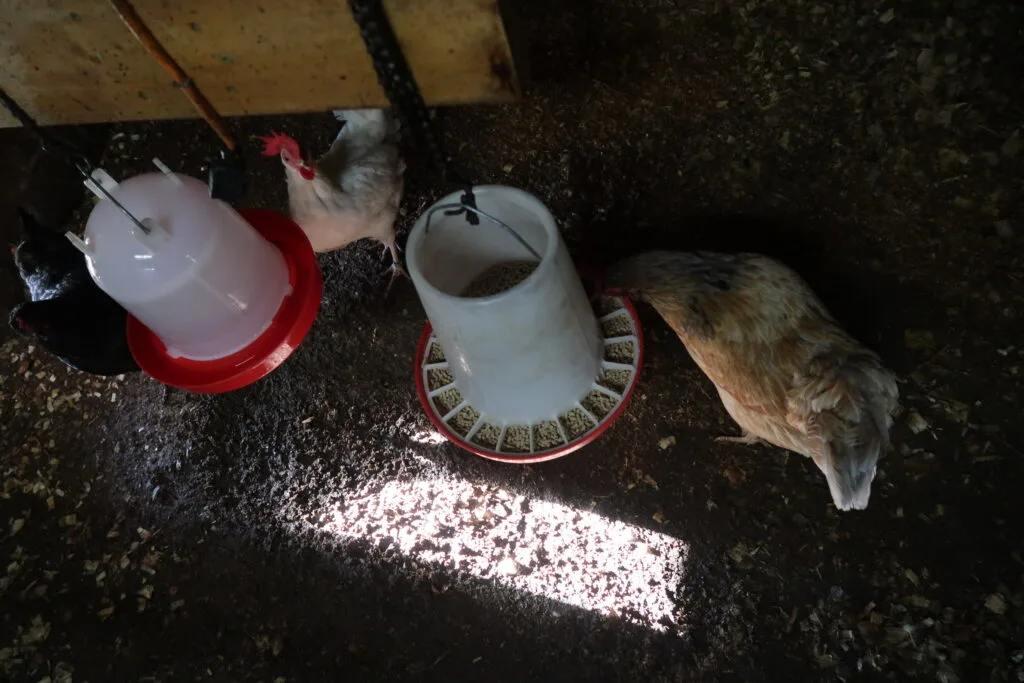
Step #6 Let it all dry.
Allow your coop to air-dry completely before adding your supplies back in. You can also use a fan or a space heater to speed up the drying process if you’re in a hurry.
This is one reason I like to clean the chicken coop on a warm fall day. Any warm air moving through the barn helps it dry faster.
I clean the chicken coop in the morning and will add everything back in that night before I close the coop. Open all doors, and windows as possible to let warm air in and dry everything out.

Step #7 Check your cleaned coop for damage, cracks, or leaks
Inspect your coop for any damage, such as cracks or holes in the walls, roof, or floor. Any gaps or openings can let cold air and moisture in, which can be disastrous for your chickens during winter.
Also, there are holes and areas where mice and rats may get in. We will use rocks from the farm field for the corners of our coop. We built our barn, and a lot of the rocks we used for the flooring get kicked out by the chickens and the mice.
We’ve had a rat issue before, and it’s not fun, so now we make sure to block every hole as best as possible before the ground freezes.
Sick of pine shavings in the coop? Consider sand.
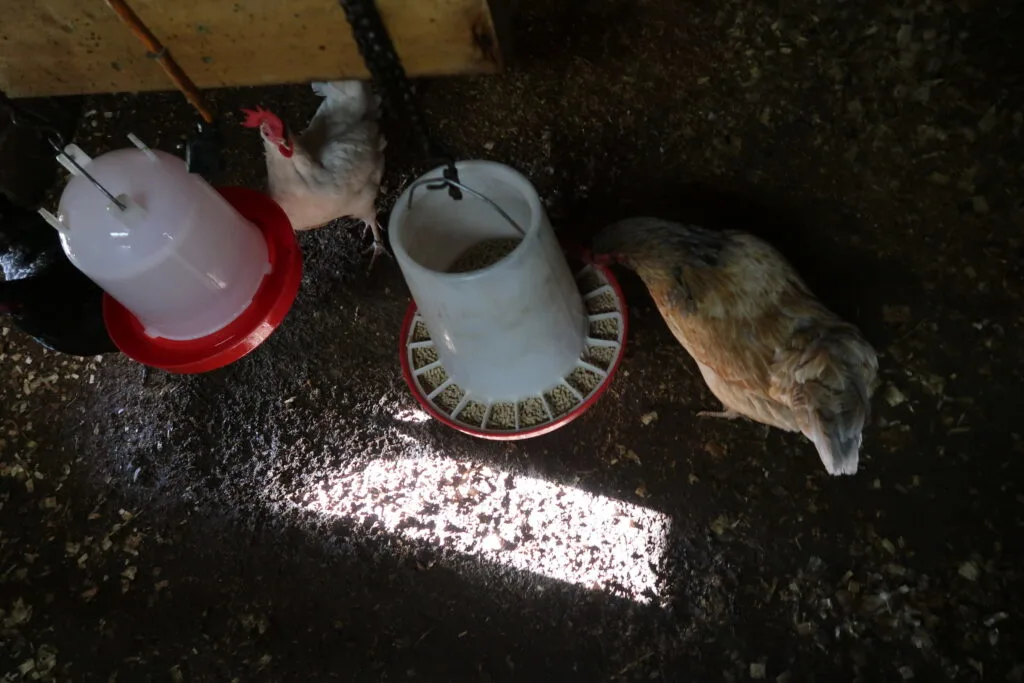
Step #8 Check over interior supplies.
Check your interior supplies, such as waterers, feeders, and nesting boxes. This means if you have electric waterers, plug them in the make sure they work.
Locate any extension cords and extra feeders. Keep everything you may need in one place.
Double-check that everything is clean, functional, and in good condition. Winter is not a good time for equipment failures or issues.
This is an excellent time to put away anything that might freeze and break in the cold winter months.
Step #9. Put fresh bedding into your cleaned coop
Add fresh, clean bedding to your coop. You can use sand, wood shavings, leaves, or other materials that are absorbent to your chickens. Make sure you put a thick layer of bedding to insulate against the cold.
I don’t like to use straw in the chicken coop. Yes it would keep their feet warmer, but in the winter most of the time, they are up on their roots when it’s really cold.
I hate shoveling out the straw in the spring. It’s a lot heavier and just a pain to deal with.
I’ll use straw as bedding for the pigs, goats’, and chickens’ nesting boxes.
Implement the deep litter method
The deep litter method is a winterizing technique that involves adding layers of organic material to your coop floor throughout the winter. This is where the heavy load comes from in the spring.
As the layers decompose, they generate heat, which can help keep your chickens warm. To implement the deep litter method, add a layer of fresh bedding and straw bales around the perimeter of the coop. You keep adding layer upon layer.
I do this for our goats and sheep; cleaning out the top coat is essential- just a quick raking and then adding your fresh straw on top. For the chickens, I will add fresh shavings over the old shavings, and this year we probably will have a spot in the coop for the ducks that has straw.
The deep litter bedding works when you repeat this process as needed throughout the winter.
It does mean you have a very heavy coop to clean in spring- but depending on how extreme your weather conditions are, it’s worth it.

Use straw bales and old feed bags for chicken coop insulation
Straw bales and old feed bags are excellent materials to add extra insulation to your coop during winter. Use a few straw bales to create a barrier around the perimeter of your coop, which can help block wind and keep your chickens warm.
You can also use old feed bags filled with insulation materials like leaves, straw, or hay to create additional insulation on your coop walls and roof.
We put straw bales along our barn door because the draft underneath blows right in. Usually if we don’t block it snow even comes in the barn, and when it’s really cold and windy, your chicken’s egg production decreases.
You don’t have to have an insulated coop, either. With our new barn, the chickens are in just the corner, just the pine wood.
It has no cracks or holes, allowing cold winds in, which is key. In the old barn, our Roosters were getting frostbite from inside the coop. That’s not fun to deal with, and another reason why preparing for cold temperatures early is beneficial for many chicken owners.
Set Up Extra Light
Keep in mind during the winter months, there is less daylight. Hens will naturally lay fewer eggs in cold temperatures. We have a light over our nesting boxes that I’ll turn on in the morning.
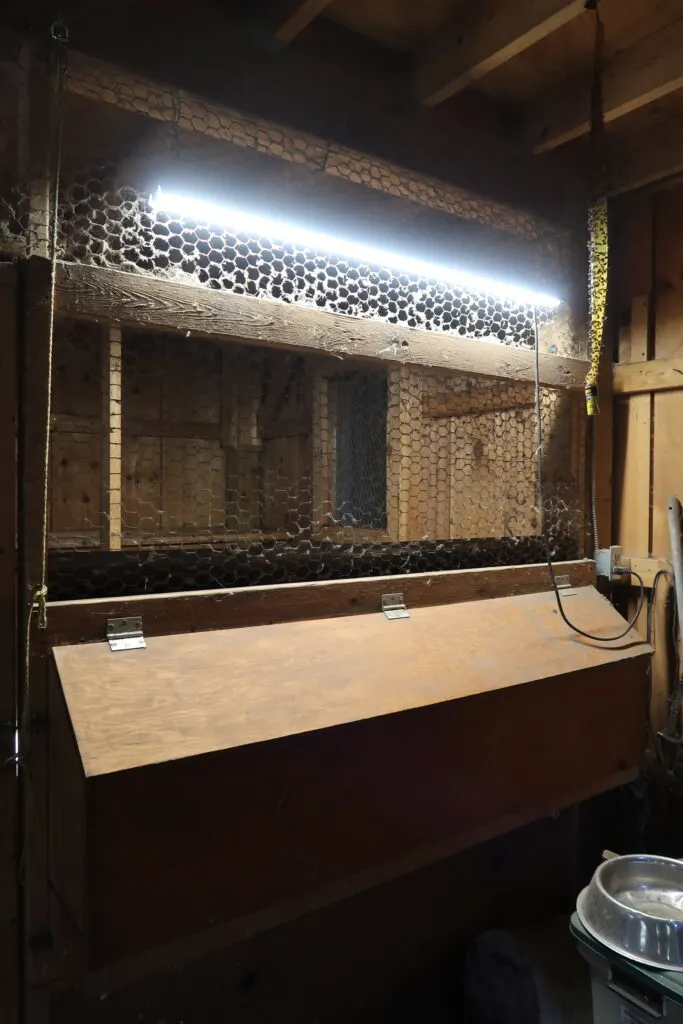
It serves two purposes, really, because it’s hard to see in the early mornings for the feed bins and gives the chickens a little light.
Most of the time our hens lay eggs all winter, with keeping the coop warm and feeding 16% protein pellets.
Fresh Air
There are days when the chickens can’t get out in the chicken run because we have too much snow. If it’s been three or four days I’ll end up shoveling a path in the chicken run, and they will walk out on the path only.
They are funny that way, aren’t they? You want to keep cold air out but still give the chickens some airflow. Our cold weather can last for six months. It’s depressing just writing this! Does anyone living up north feel like they have paid their winter dues?
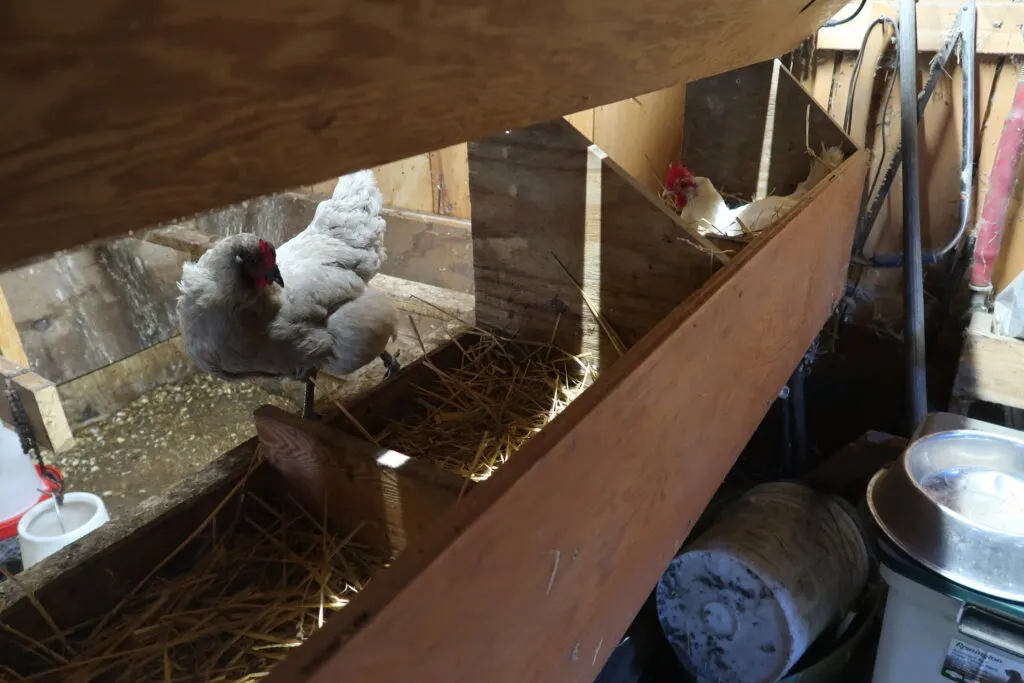
Providing Supplemental Heat
I’m not a fan of adding heat lamps for chickens. In our old barn we never had a heat lamp because it felt like a disaster waiting to happen. In our new barn now, only once did we add a heat lamp for kids born on a very windy, negative 20-degree day.
After raising chickens for eight years, I’ve never needed heat lamps in any chicken coops for the birds. They naturally can keep themselves warm. Chicken keepers who want a successful winter season, need to prepare the coop and raise hardy birds for their area.
When setting up your chicken coop, have roosting areas that are big enough that when the chickens sit their feathers are covering their feet.
Winterizing your chicken coop may seem daunting, but ensuring your chickens’ health and happiness during winter is essential. Following the steps outlined in this blog post, you can prepare your coop and keep your chickens warm and comfortable all season long.
Remember to take preventive measures against frostbite, respiratory illnesses, and other issues that can arise during winter. And don’t forget to improvise with budget-friendly materials like straw bales and old feed bags to ensure you’re not breaking the bank.
With a little effort and creativity, you can winterize your chicken coop and create a cozy and welcoming environment for your feathered friends.
Are you overwhelmed with raising chickens? You need my backyard planner!

