It’s hot—no air conditioning. I’ve got a toddler pulling at my leg and a baby wrapped up in my Moby. It’s the end of August, and it’s time for canning.
It was a tradition I knew I wanted my girls to grow up remembering.
Financially I was doing everything I could to keep us healthy and well-fed but on a very tight budget. Starting our vegetable garden from seeds and canning all the extras was a great way to do that.
Not only does it save money, but it also tastes so much better pulling out your canned or frozen veggies in the dead of winter.
You’re not alone if you’ve ever been curious about canning but felt intimidated by the process. Many hesitate to try canning, thinking it’s too complicated or time-consuming.
However, canning is actually quite simple once you know the basics, and it’s a fantastic way to preserve fresh produce and enjoy your favorite fruits and vegetables year-round.

In this blog post, I’ll share my experience with canning and provide beginner-friendly tips to help you get started. Plus, I’ll introduce you to our affordable canning planner and journal, available for download at just $5!( I’m so freaking excited about this planner!)
A fun place to start is by making jelly or jam. Pick your favorite fruit, find a jam or jelly recipe, and try it. I’ve included my favorite strawberry jam recipe in my canning planner and journal.
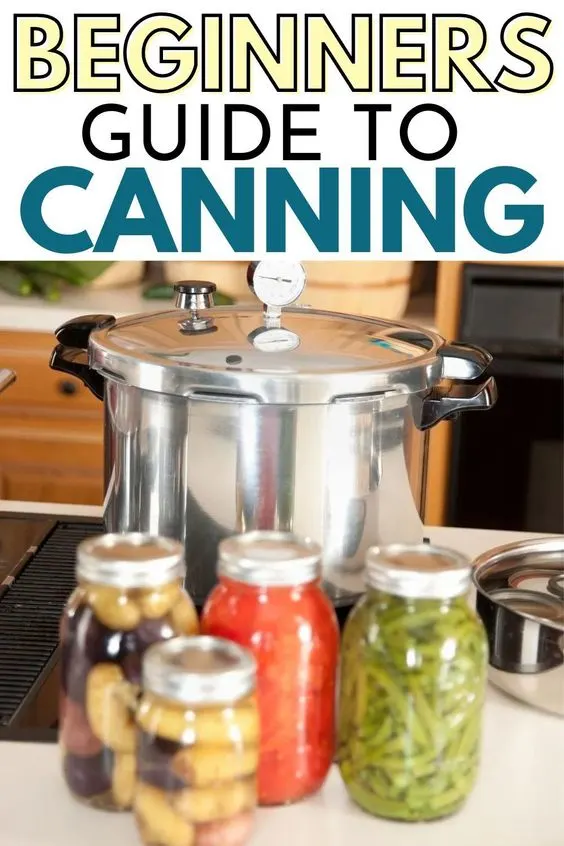
You need some half-pint glass jars and tongues that will allow you to grab hot jars out of boiling water. Dig around and see if you have a pot large enough to hold the jars and get started.
Follow the recipes and directions, and you’ll do fine. Any jars that don’t seal properly should be used immediately in the fridge.
What Is the Best Canning Method for Beginners?
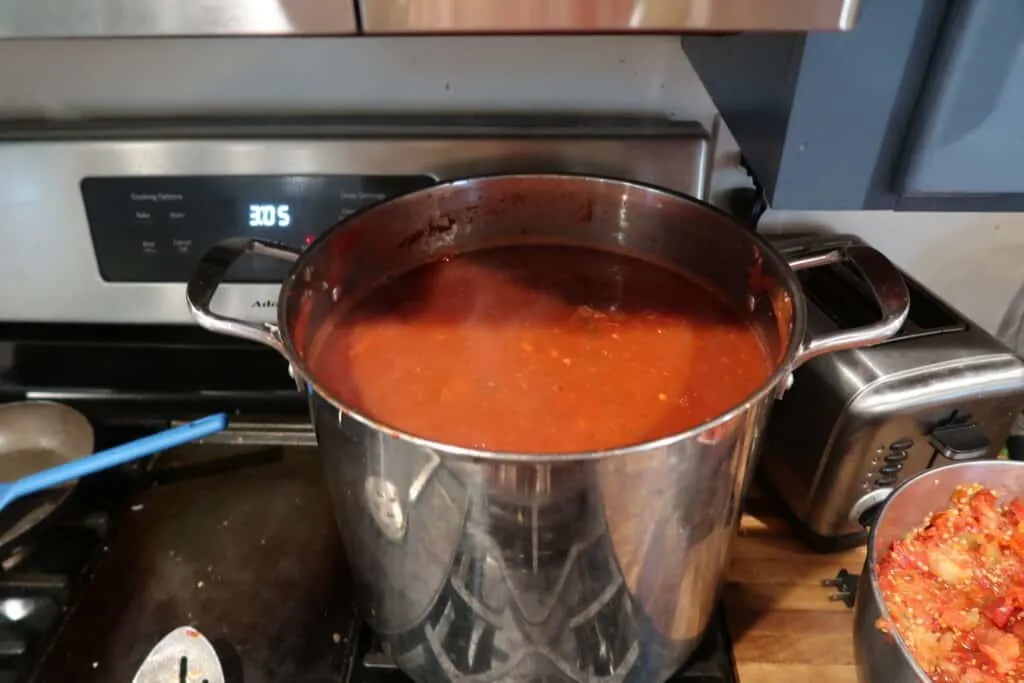
For beginners, I recommend starting with the water bath canning method. This method is perfect for preserving high-acid foods like fruits, jams, and pickles.
The process involves submerging filled jars in boiling water, which heats the contents and creates a vacuum seal as the jars cool. It’s an easy and efficient way to start canning at home.
What Is the Easiest Food to Can?
It’s best to choose recipes with simple ingredients and straightforward preparation steps when starting with canning.
Grab my Canning Planner with two easy recipes to get started!
A great way to start is with a simple vegetable canning project. Canning green beans is easy; you can use them in any dish throughout the year, just like store-bought canned beans. Start by cleaning, cutting, and blanching your green beans.
Then follow canning instructions to ensure they cook long enough and reach a high enough temperature to kill bacteria and seal properly.
Any jars that don’t seal completely should be stored in the fridge and used within several days, just like any other canned food.
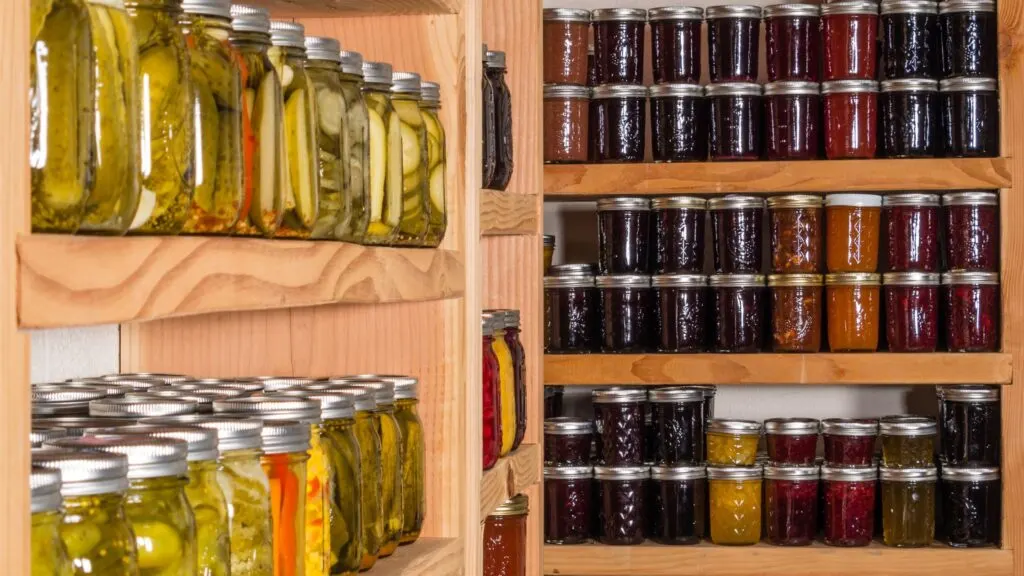
Try canned pickles to preserve cucumbers from your garden or other pickled vegetables such as cauliflower, peppers, or okra.
One of my favorite beginner recipes is to can zucchini relish! It’s so good on beer brats.
Some of the easiest foods to can include:
- Applesauce
- Tomato sauce
- Fruit jams and preserves
- Pickles
Equipment Needed for Canning
To begin your canning journey, you’ll need some basic equipment, including:
- Glass canning jars with lids and bands
- A large pot with a rack (for water bath canning)
- A jar lifter
- A canning funnel
- A bubble remover/headspace tool
- Home Canning Planner and Journal

Glass canning jars with lids and bands
Glass canning jars, commonly called Mason jars, are designed for home canning. They come in various sizes (e.g., half-pint, pint, quart) and have two-part lids consisting of a flat metal disk with a rubber seal (the lid) and a separate metal screw band.
You can easily find these at yard sales and thrift stores.
The lids create an airtight seal as the contents cool, while the bands hold the lids in place during processing. It’s essential to use jars intended for canning, as other glass containers may not withstand the heat and pressure involved in the process.
A large pot with a rack (for water bath canning)
A large pot is necessary for submerging the filled jars in boiling water during the water bath canning process. The pot should be deep enough to cover the jars with at least 1-2 inches of water.
A rack is needed to elevate the jars off the bottom of the pot, ensuring proper heat circulation and preventing the jars from cracking due to direct contact with the pot’s base.
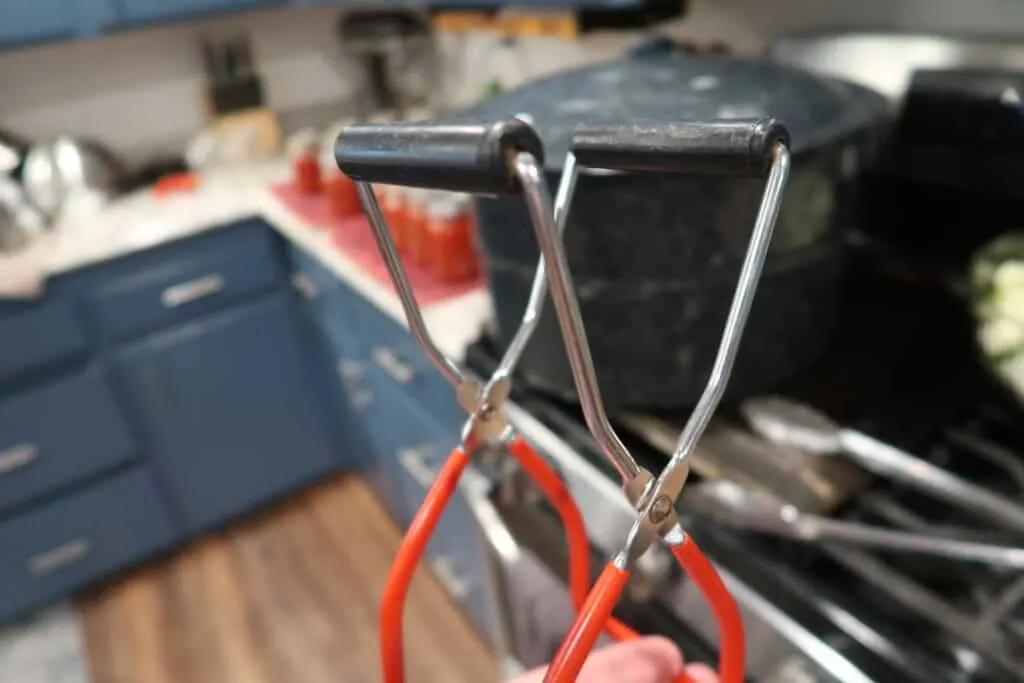
Jar lifter
A jar lifter is a handy tool designed to safely and securely grip canning jars, making it easy to remove them from the boiling water without risking burns or dropping them.
This essential tool is a must-have for anyone starting their canning journey.
Canning funnel
A canning funnel is a wide-mouthed funnel that fits directly into the opening of a canning jar. It helps guide food into the jars without making a mess or compromising the jar’s rim, which could affect sealing.
A canning funnel is especially useful when working with liquids or small, loose items like berries or corn kernels.
Bubble remover/headspace tool
A bubble remover, or headspace tool, is a non-metallic spatula or plastic wand used to remove trapped air bubbles from the filled jars before sealing.
Removing air bubbles ensures a proper vacuum seal and prevents spoilage. The tool often features a notched end for quickly measuring the appropriate headspace in your jars.

Home Canning Planner and Journal
Our beginner’s guide to Canning Planner and Journal is a valuable resource for anyone starting their canning journey. This downloadable planner and journal will help you plan your canning projects, keep track of your canning recipes, and ensure you preserve food safely and efficiently.
With sections for inventory management, recipe notes, and processing times, our Home Canning Planner and Journal is the perfect companion for novice and experienced canners looking to stay organized and inspired.
With these essential canning tools, you’ll be well-equipped to start preserving delicious, homemade food for yourself and your loved ones.
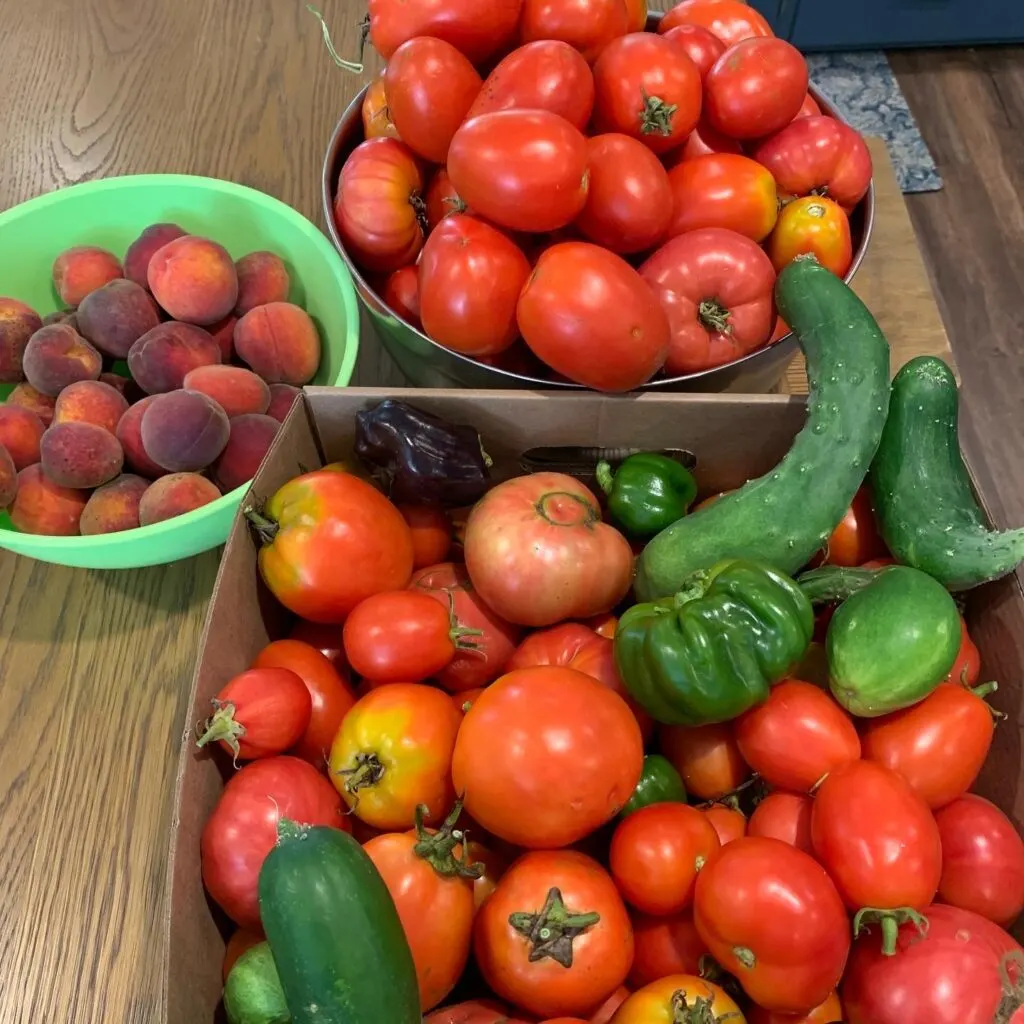
Low Acid Foods That Cannot Be Canned
It’s important to note that not all foods are suitable for canning jars. Low-acid foods like vegetables, meats, and poultry require pressure canning to ensure safe preservation.
As a beginner, it’s best to stick to high-acid foods and recipes specifically designed for water bath canning.
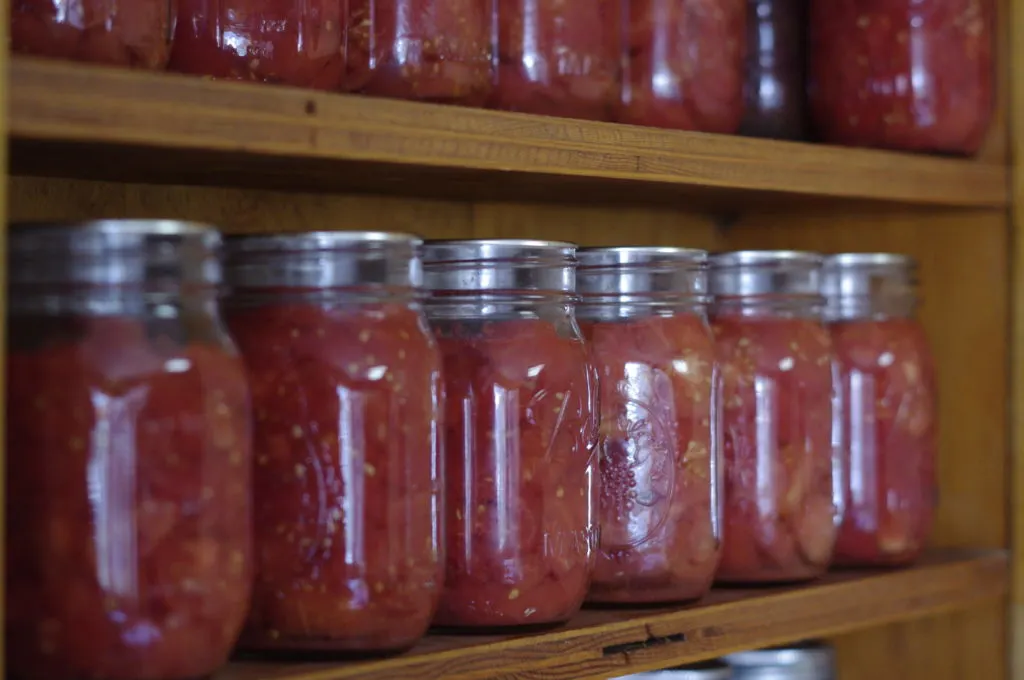
The Cost of Starting Your Canning Hobby
Canning can be an affordable hobby, especially if you start with basic equipment and focus on in-season produce.
Most essential canning supplies can be found at reasonable prices, and you can often find deals on jars and other items at thrift stores or garage sales.
Try asking your local buy-nothing group for canning supplies.
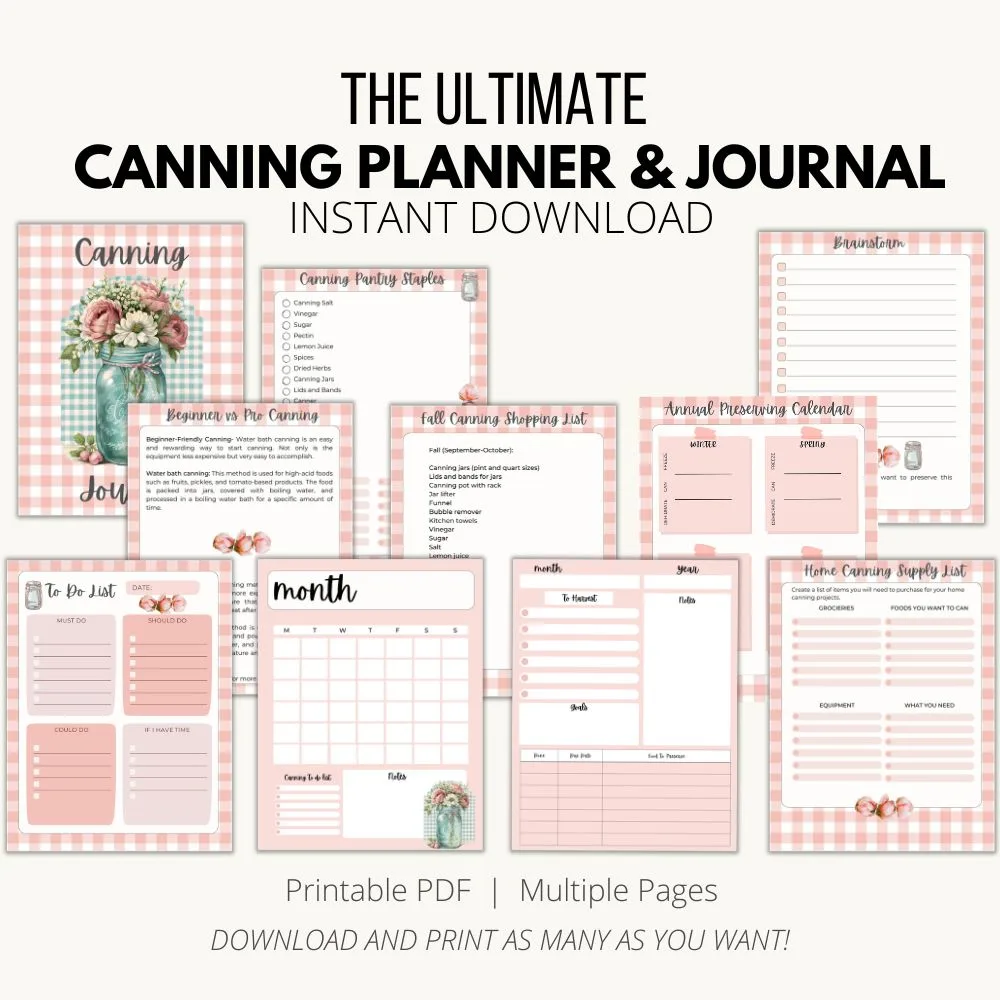
Our $5 Canning Planner and Journal
To make your canning journey even more enjoyable and organized, check out our canning planner and journal, available for download at just $5!
This helpful tool will guide you through the canning process, help you keep track of your recipes, and ensure you’re preserving food safely and efficiently.
Cheapest Ways to Preserve Food
In addition to canning, there are other affordable ways to preserve food, such as:
Freezing:
Wash, chop, and store fruits and vegetables in airtight containers or freezer bags.
Dehydrating:
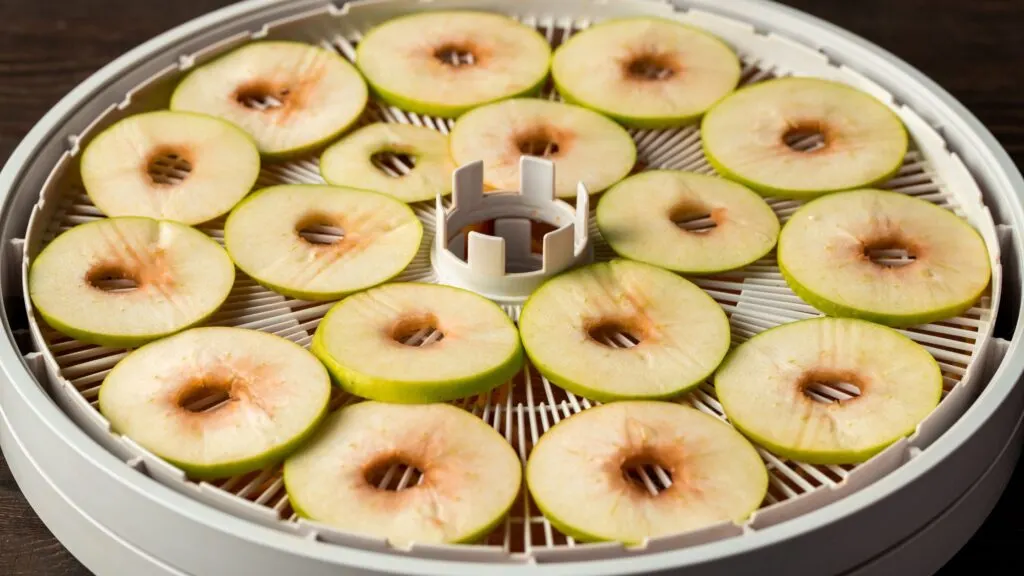
Use a dehydrator or your oven’s lowest setting to dry out fruits, vegetables, and herbs for long-term storage.
Discover the best food preservation method for you in our latest blog post! Check it out now and never waste produce again.
Start Small
Canning is a long process, and you have to go in with the mindset that this is an all-day event. If you don’t have helpers, it’s best to start canning in small batches.
Although it can be frustrating to set up the water bath canner and wait for the hot water to bubble, it’s still worth splitting the job into two days if you’re doing it alone.
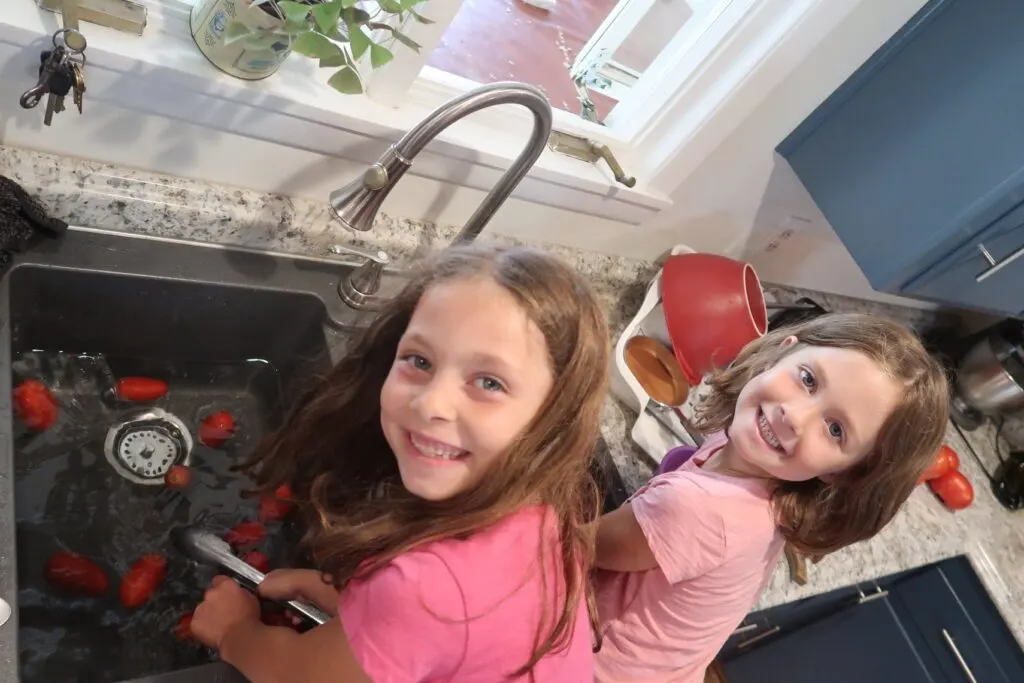
Even when my girls were toddlers, I included them in the process. At first, it was dunking the blanched tomatoes into the ice water.
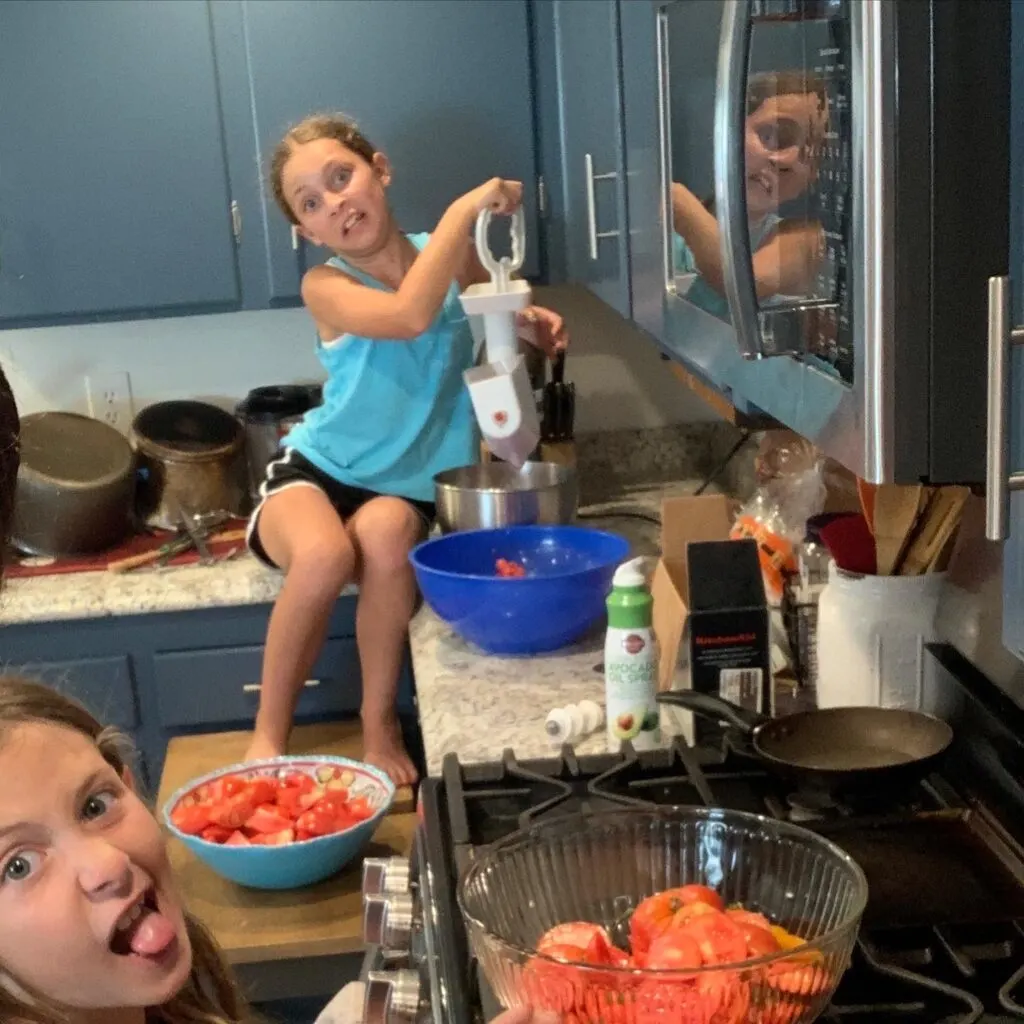
Then it was peeling the tomatoes and putting them in the Kitchenaid strainer etc. There is always a job available for someone, and the time it takes to find it can make a difference.
A Brief Introduction to Pressure Canning
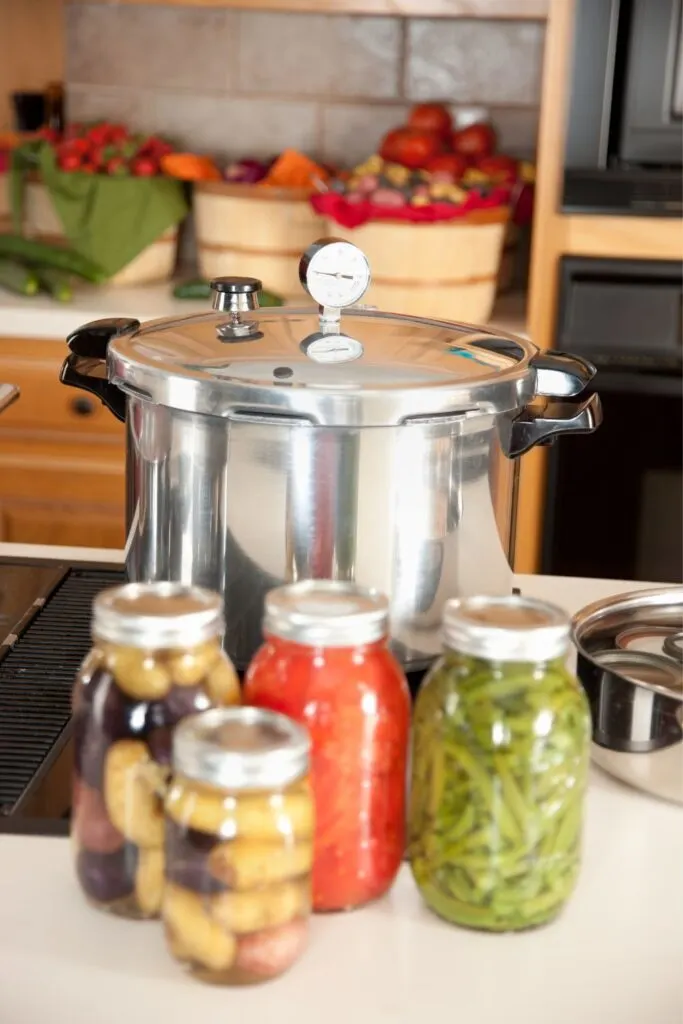
While water bath canning is suitable for high-acid foods, pressure canning is necessary for preserving low-acid foods like vegetables, meats, and poultry.
Pressure canning uses a specialized piece of equipment called a pressure canner, which heats the jars and their contents to a higher temperature than boiling water, typically around 240°F (116°C).
This higher temperature is crucial for destroying harmful bacteria, such as Clostridium botulinum, which can cause botulism – a serious form of food poisoning.

Pressure canning works by trapping steam inside the sealed canner, causing the pressure to build up and the temperature to rise. The increased pressure and temperature ensure that heat penetrates the jars and their contents thoroughly, making the preserved food safe for long-term storage.
While pressure canning may initially seem intimidating, it’s simply a matter of following the correct steps and using the appropriate equipment.
If you’re interested in learning more about pressure canning, many resources are available, including books, online tutorials, and classes in your local community.
By understanding the basics of pressure canning, you can expand your home preservation skills and safely store a wider variety of foods for your family to enjoy.
Step-by-Step Guide to Water Bath Canning for Beginners
Prepare your equipment:
Gather all the necessary canning equipment, such as jars, lids, bands, a large pot with a rack, a jar lifter, a canning funnel, and a bubble remover/headspace tool. Make sure the jars are clean and free of any chips or cracks.
Sterilize the jars:
Submerge them in boiling water for at least 10 minutes to sterilize them. Keep the jars warm until you’re ready to fill them. I would place them all in the dishwasher when we had a dishwasher. It was a much easier way to wash the jars.
Anytime you can save time with prep work when it comes to canning, take it.
Prepare the food:
Follow your recipe to cook or prepare the food you’ll be canning. This could involve making applesauce, tomato sauce, jam, or pickles.
Fill the jars:
Carefully fill all jars with the prepared food using the canning funnel, leaving the appropriate headspace (usually 1/4 to 1/2 inch) at the top. Headspace is crucial for ensuring a proper vacuum seal.
Remove air bubbles:
Use the bubble remover or a non-metallic spatula to gently stir the contents of the jar, releasing any trapped air bubbles.
Wipe the jar rims:
Clean the rims of the jars with a damp paper towel or cloth to remove any residue that could interfere with the seal.
Secure the lids and bands:
Place the sterilized lids on the jars, making sure they’re centered, and then screw on the bands until they’re fingertip-tight.
Process all the jars:
Place the filled jars on the rack in the large pot, ensuring they don’t touch each other or the sides of the pot. Fill the pot with enough water to cover the jars by at least 1-2 inches.
Bring the water to a rolling boil, then process the jars for the time specified in your recipe.
Remove and cool the jars:
Use the jar lifter to carefully remove the sealed jars from the boiling water bath pot and place them on a towel or cooling rack, leaving at least 1 inch of space between them.
Allow the jars to cool for 12-24 hours undisturbed.

Check the seals:
Once the jars have cooled, press down on the center of each lid. If it doesn’t move, you have properly sealed jars. One of my favorite parts about canning was the sound of the lids popping after I remove the jars from the water.
If the lid pops up and down, the seal is not secure, and you should either reprocess the jar immediately or store it in the refrigerator and consume the contents within a few days.
With these ten simple steps, you’ll be well on your way to canning delicious, homemade food for your family and friends.
Getting started with canning doesn’t have to be complicated or expensive. With the right equipment, simple recipes, and our affordable canning planner and journal, you’ll be well on your way to preserving delicious, homemade food for yourself and your family.
So why wait? Dive into the world of canning and discover the satisfaction of creating your own preserved goodies! Happy canning!
