
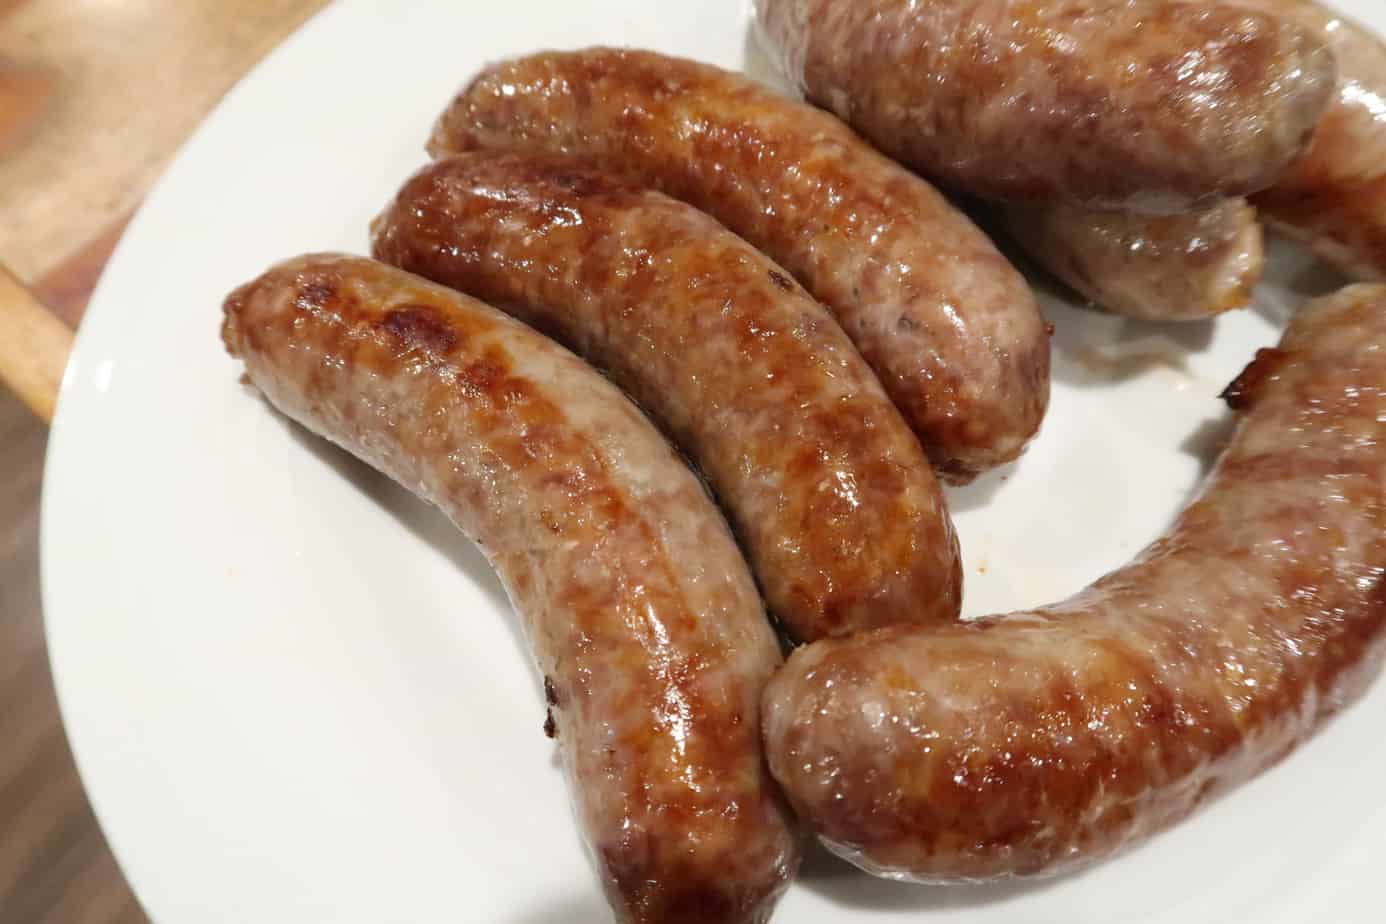
Being from Wisconsin brats and beer go hand in hand. If you haven’t soaked your brats in beer yet, prepare for a mind blowing experience.
Okay maybe not mind blowing but juicy, moist and delicious is what you are going to get with the Ninja Foodi.
If you are new around here I’ve been sharing my experience with the Ninja Foodi on the blog. I started making the same recipes you find in your Ninja Foodi booklet and now I’m venturing out on my own and sharing those with you here.
Today I want to tell you how easy it is to make brats or even sausage in your Ninja Foodi.
There is one step that really makes the brats pop and that is beer. Be sure to get Johnsonville because in my Midwest opinion, they are the best.
Scroll to bottom for printer friendly recipe.
If you are brand new to the Foodi, you can watch my Facebook LIVE where I cooked a Mozzarella stick and talked about it here.
Read: My Epic Fail with Pasta in the Foodi & What You Should Not Do
INGREDIENTS
- 1 Can of Pilsner Beer- I used Labatt Blue
- 1 pack of Brats- 5 or 6 will fit in Foodi
- Onions
- Buns
- Condiments of your choice

WHAT TO DO:
First thing you want to do is boil your can of beer. Once it starts boiling drop your brats in and cook for about 10 minutes.
If you really want to bring out more flavor you can soak the brats in beer overnight. This isn’t necessary if you find the Johnsonville Beer Brats.
While your brats are boiling, turn your Ninja Foodi on.

Hit Air Crisp temperature 400°. I set my timer for another 10 minutes. If you like a crispier well done brat set it for a few minutes longer.
The air fry setting really makes your brat taste like you finished it off on the grill.
*Now if you didn’t want to boil your brats in beer, you could pressure cook the brats first. This would be a good idea, if you stocked up on brats/sausage and had them in the freezer. It will only take a few minutes to pressure cook them and you would finish these off in the air fryer. I would set the pressure time to 3 minutes or so.

Top with your favorite toppings and enjoy! In the summertime we always have brats with baked beans. In the winter I seem to add a tossed salad, or a side of green beans. The beauty of the brat is anything goes with it.

If you haven’t taken the plunge into the Foodi yet, check out my full review on it here. If you love deals and want to wait for an amazing deal on it
Tired of looking at the Ninja Foodi on your counter? Check out these cute Food Cover ups!


Have you checked out these amazing Foodi Wraps? There are different patterns to choose from here. I’m in love.
You can find more of my favorite Ninja Foodi Accessories here.
Ninja Foodi Beer Brats
Being from Wisconsin brats and beer go hand in hand. If you haven’t soaked your brats in beer yet, prepare for a mind blowing experience.
Ingredients
- 1 Can of Pilsner Beer- I used Labatt Blue 1 pack of Brats- 5 or 6 will fit in Foodi Onions Buns Condiments of your choice
Instructions
- First thing you want to do is boil your can of beer. Once it starts boiling drop your brats in and cook for about 10 minutes.
- If you really want to bring out more flavor you can soak the brats in beer overnight. This isn’t necessary if you find the Johnsonville Beer Brats.
- While your brats are boiling, turn your Ninja Foodi on.Hit Air Crisp temperature 400°. I set my timer for another 10 minutes. If you like a crispier well done brat set it for a few minutes longer.
- The air fry setting really makes your brat taste like you finished it off on the grill.
- Top with your favorite toppings and enjoy! In the summertime we always have brats with baked beans. In the winter I seem to add a tossed salad, or a side of green beans. The beauty of the brat is anything goes with it.
Notes
*Now if you didn’t want to boil your brats in beer, you could pressure cook the brats first. This would be a good idea, if you stocked up on brats/sausage and had them in the freezer. It will only take a few minutes to pressure cook them and you would finish these off in the air fryer. I would set the pressure time to 3 minutes or so.
Recommended Products
As an Amazon Associate and member of other affiliate programs, I earn from qualifying purchases.
-
 21Pcs Accessories for Instant Pot 6 qt 8qt, Ninja Foodi 8qt - 60 Pcs Parchment Papers, 2 Steamer Baskets, Springform Pan,Stackable Egg Steamer Rack, Instruction & Recipes Book
 -
ROTTAY Silicone Egg Bites Molds and Steamer Rack Trivet with Heat Resistant Handles Fit Instant Pot Accessories, 7pcs/set for 6qt & 8qt Electric Pressure Cooker - With 2 Spoons and Silicone spatula
-
Silicone Mits


More Foodi Recipes We Love:
- Easy Restaurant Quality Ninja Foodi Yeast Rolls
- Upside Down Taco Nachos in the Ninja Foodi
- Easy Chocolate Chip Skillet Cookie in Ninja Foodi
- Easy Way to Make Hot Dogs in Ninja Foodi
- 33 Easy Pantry Staple Meals You Can Make For Cheap
 3 Life-Changing Principles That Will Make This Your Best Year Yet
You are spot on when you use beer to boil your brats! I have no clue why but it makes a huge difference in the finished product. If you haven’t tried it, do it once and you’ll never go back.
Whoo hoo! Yes it tastes so much better. Thanks for stopping by Robert 🙂
Love the recipe. Could you be more specific about “another ten minutes” when it comes to the Ninja Foodi air crisp setting? How long should I air crisp the beer brats after. boiling them per your instructions?
about 10 minutes or so until your liking.
I am originally from Milwaukee… boiling brats in beer first is the only way we’ve ever done it. I add sliced onions to the beer – for that little bit of extra flavor – still having raw onions on the table with other condiments. It’s the only way to go – makes the grilling/ninja a bit faster and helps not split the brats during grilling. Sometime happens when the heat is too high. Fact is I came here because that’s on the menu tonight – first time using my ninja for ‘grilling brats’. Always check for ‘time’ – everything else is pretty good once you start using the ninja. Wouldn’t be without it. Thank You
Yes- I grew up in Wisconsin, but now living in NY it’s not a thing here. I love the Ninja too, use it so many times throughout the week.